
Backyard & Patio
Covered Patio Ideas for Every Budget and Yard
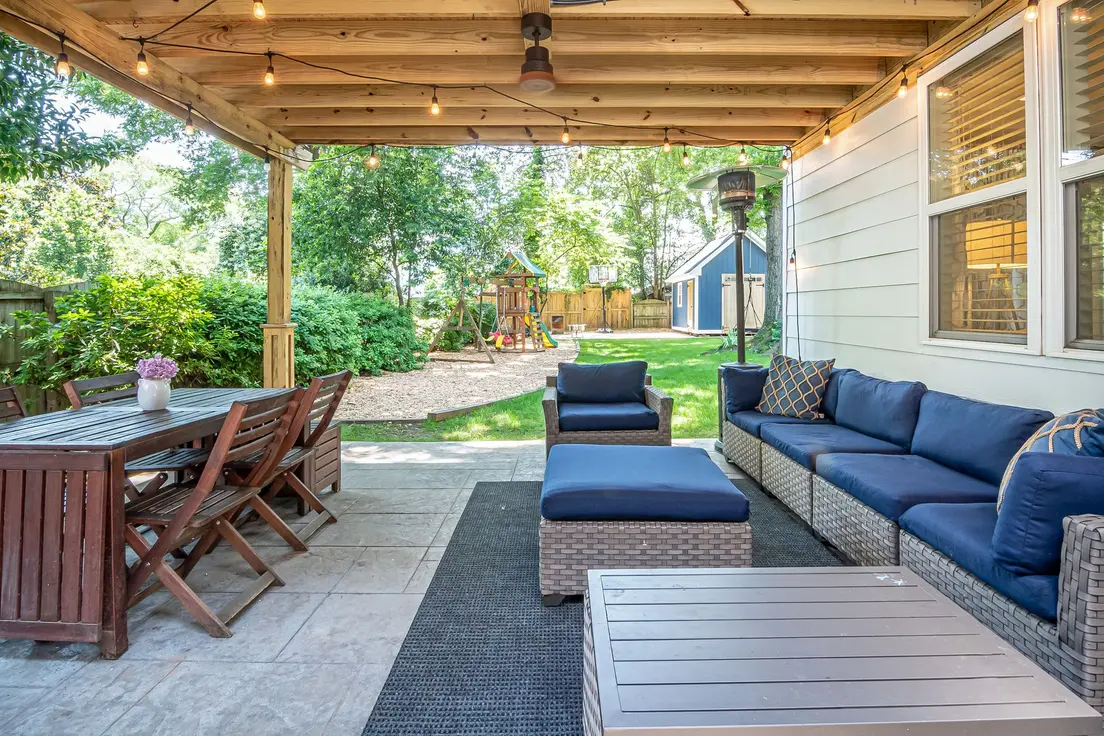
Photo by Curtis Adams on Pexels
Covered patio ideas fall into two real categories: something you build once and never touch again, or something you buy today and change your mind about next season. Browse enough covered patio designs and a pattern emerges — the ones homeowners actually keep are the ones matched to their budget and their patience for a permit office, not the ones that photograph best. Some options go up in an afternoon for under $200; others are a multi-day build that still costs less than half of what a contractor quotes for the same square footage. None of them require ripping out the outdoor patio itself — every idea below works on top of the concrete, pavers, or deck you’re already standing on. A real cover also beats a market umbrella at its own job: it doesn’t need repositioning every hour to chase the sun, and it survives the wind that folds an umbrella inside out.
8 patio cover ideas at a glance
Concept renders — visual references, not photos of a finished project.
Build a freestanding pergola if you don’t want to touch the roofline
A freestanding pergola skips the flashing, the roof-tie-in, and the conversation with your house’s actual structure — it’s four posts and a beam grid, standing on its own. It’s also the option most likely to survive an HOA review, since attached structures and anything over a few feet tend to be the first thing a property manager flags.
We learned that one the hard way with a townhouse privacy trellis: up on a Saturday, gone by the following Tuesday after a very polite letter about structures over 4 feet. The freestanding swap — same look, technically furniture, not construction — passed with zero complaints. If your HOA is picky, start freestanding and skip the letter.
Most kits in this style ship as a post-and-beam grid you bolt together, no welding or concrete footings required if you’re setting it on an existing slab. Plan for two people and a Saturday for anything up to 12×16 feet — one person can do it, but holding a beam level while reaching for a bolt is the kind of two-hands job that turns a four-hour project into an eight-hour one.

Photo by Randy Fath on Unsplash
Go solid-roof if you want zero rain-check days
A solid aluminum or polycarbonate roof is the only option on this list that turns a rainy Tuesday into a still-usable patio. It costs more than a fabric or louvered option and it’s the one most likely to need a permit, but it’s also the one you’ll actually use in a spring storm instead of watching from the kitchen window.
Insulated panel kits run cooler in direct sun than bare aluminum, which matters more than the spec sheet makes it sound if your patio faces south or west. Attached versions tie into the house’s roofline and typically need flashing done right the first time — this is the one idea on the list where a bad DIY seal shows up as a leak in the kitchen ceiling, not just a wet patio. Attached covers almost always need a building permit in US jurisdictions that follow the International Residential Code’s patio cover appendix, so check with your local building department before you order materials, not after.
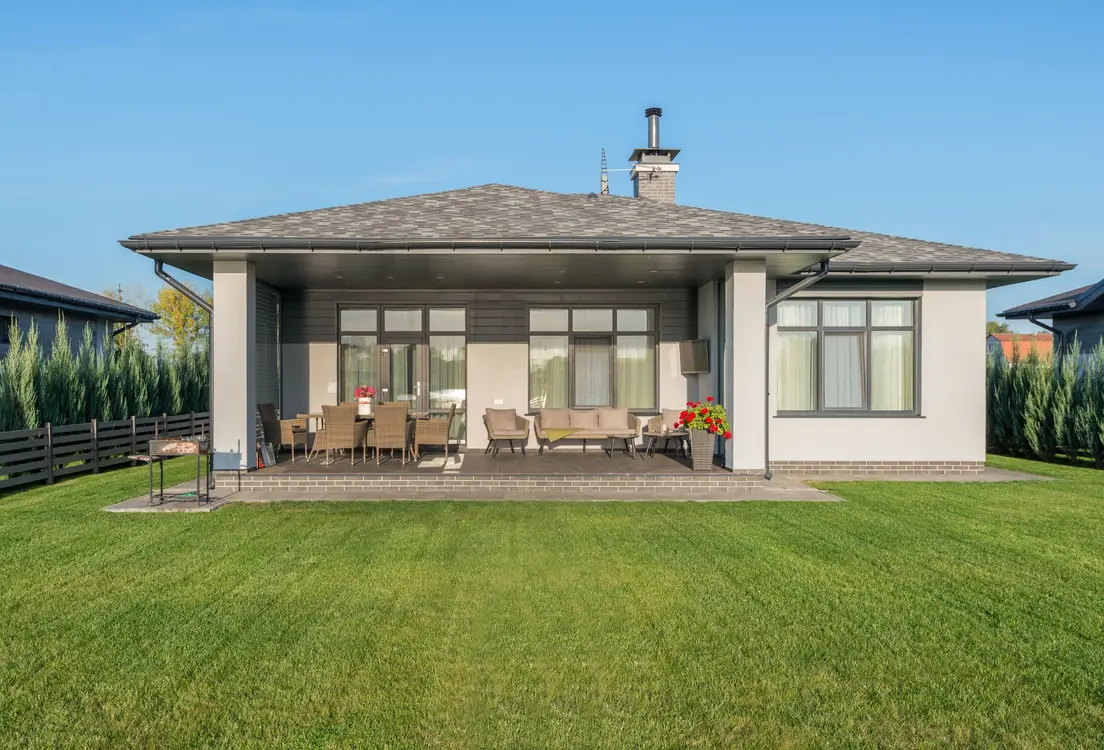
Photo by Max Vakhtbovych on Pexels
Choose a louvered pergola if you can’t decide how much shade you want
Louvered pergolas let you rotate the slats from fully open to fully closed, which solves the actual problem: some days you want sun, some days you want none, and a fixed roof only ever gives you one answer. Motorized versions run on a remote; manual ones are cheaper and require you to actually get up.
Closed, most aluminum pergola systems in this style shed rain the same as a solid roof — the slats overlap and channel water to a gutter built into the frame. Open, they let full natural light and airflow through. It’s the most expensive idea on this list after a full contractor build, which is the tradeoff for a roof that changes its mind as often as you do.
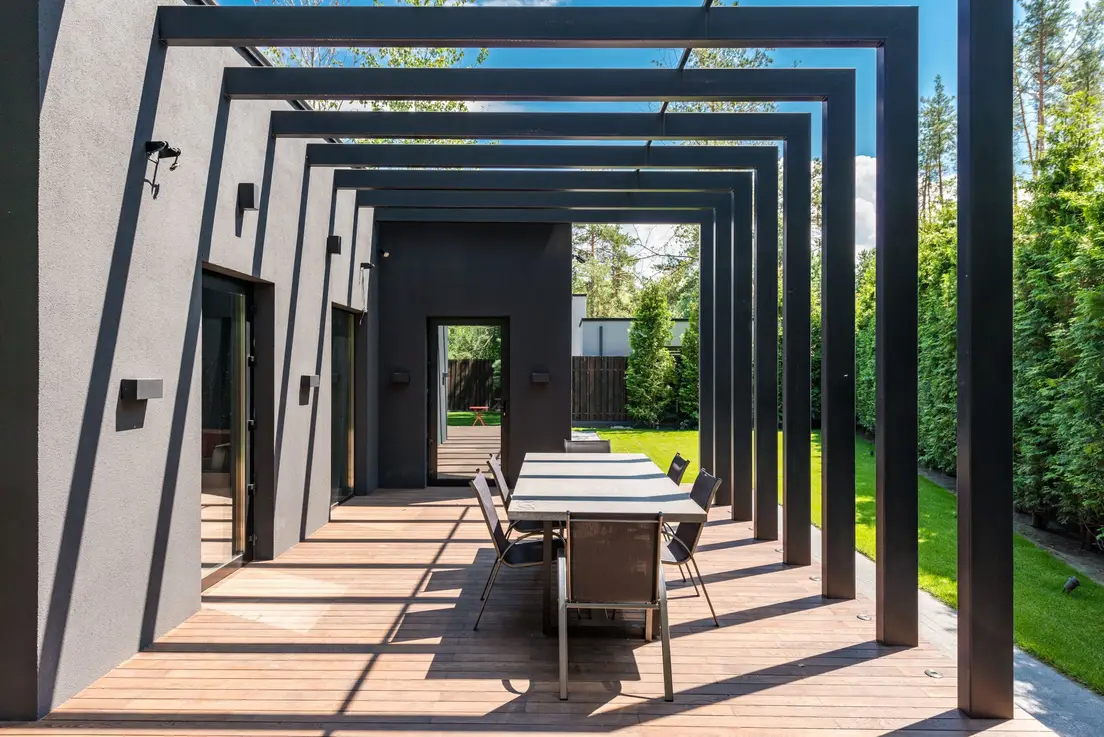
Photo by Max Vakhtbovych on Pexels
Add a retractable awning when you want the option to go bare
An awning is the middle ground between “always covered” and “always exposed” — crank it out for an afternoon barbecue, retract it for stargazing, no tools required either direction. It attaches to the house, so check the fascia board can actually take the mounting hardware before you order one.
Manual crank models are the budget pick; motorized ones add a remote and sometimes a wind sensor that retracts it automatically before a gust turns it into a sail. For a standard 10-foot-deep patio, a 12-foot awning gives enough overhang to actually shade the seating, not just the first two feet off the house.

Photo by Luis Redondo on Unsplash
String lights along the rafters, not just around the edge
Under an actual roof structure, string lights get to do more than outline the patio — they can crisscross the rafters and make the whole cover glow from above. Buy the shatterproof commercial-grade bulbs, not the $14 glass ones. A freeze-thaw winter will crack half of them by spring, and restringing a dead strand isn’t the Saturday project you signed up for.
Run them zigzag rather than in straight parallel lines — it fills more of the ceiling plane and reads intentional instead of like leftover holiday lights. A 48-foot strand covers a roughly 12×16 pergola in a double zigzag with a few feet to spare for a swag toward the seating area.
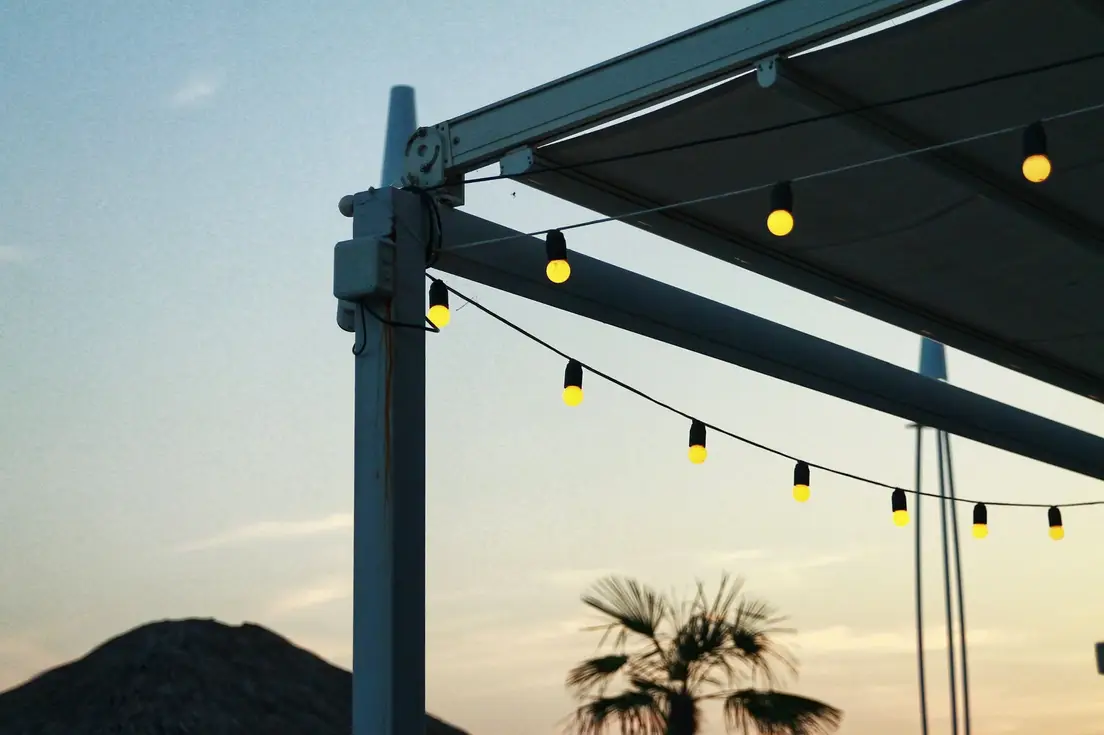
Photo by Alina Rossoshanska on Pexels
Let a vine take over the beams for shade that’s free after year one
Wisteria, climbing hydrangea, or a fast grower like Virginia creeper will fill a timber pergola’s beams with actual shade within a season or two, no fabric or panel required. It’s the slowest idea on this list and also the only one where the “product” gets better every year instead of fading in the sun.
It only works on an actual beam structure — a solid roof or louvered pergola gives climbing vines nothing to grip. No pergola yet? A simple wood trellis against a fence or wall gets the same climbing surface for a fraction of the cost, just without the shade overhead, and it fits neatly into the rest of the yard’s landscape design instead of standing alone. Wisteria specifically gets heavy once established and needs a timber frame rated to carry it, not the thin aluminum posts on a budget kit. Plant it at the base of one or two posts, not every post, or you’ll spend more weekends pruning than sitting underneath it.

Hang shade sails for the cleanest, most modern silhouette
A triangle or square shade sail strung between posts reads more architectural than a fabric awning and costs a fraction of a solid roof. It won’t fully block rain, but for pure sun control on a modern-style patio, it’s the idea that photographs best and installs in an afternoon.
Overlap two or three sails at different heights instead of one flat panel — it blocks more of the sky’s actual sun path as it moves through the day and casts more interesting shadow than a single sail ever will. Rated shade fabric handles wind up to a manufacturer-specified speed; above that, it’s designed to be taken down, not to fight the wind and lose. Of the shade structures on this list, sails are the fastest to take down entirely if a storm’s coming.

Photo by Patrick PETIT on Unsplash
Layer outdoor fabrics so the space actually invites sitting
A covered patio with bare furniture still reads unfinished. Cushions, an outdoor rug, and a couple of throw pillows do the work a roof alone can’t. Keep the rug polypropylene or another indoor/outdoor-rated fiber — a regular wool or jute rug left under an open-air cover will mold by the end of one humid season, cover or no cover.
Size the rug to the seating group, not the whole slab — it should extend a foot or two past the furniture on every side, not stop right at the chair legs. Pillows work the same way: two per chair, one pattern, one solid, is the ratio that reads styled instead of scattered. Add a lounge chair or two off to the side and this is the idea that turns a covered slab into an actual outdoor living space instead of a parking spot for patio furniture.
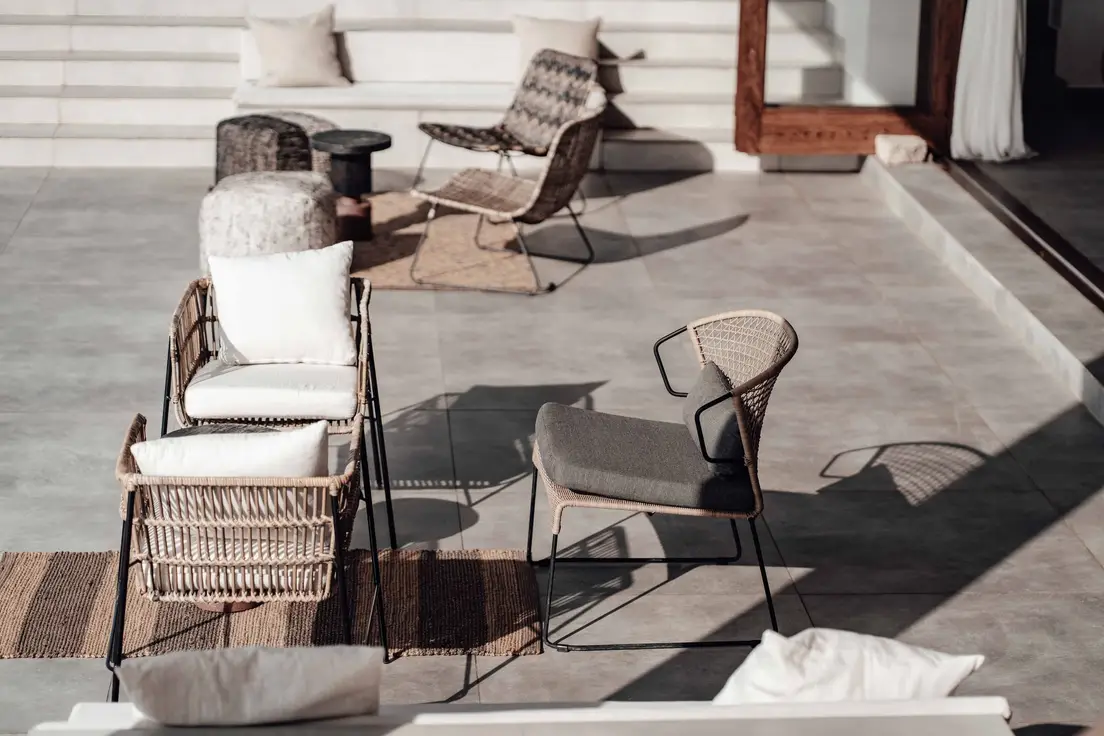
Photo by Keegan Checks on Pexels
Add a ceiling fan to the patio and stop fighting July
A patio ceiling fan is the single highest-comfort upgrade on this list per dollar spent — it turns a covered outdoor space that’s technically shaded but still stagnant into one you’ll sit on through a heat wave. Confirm it’s rated for outdoor or “wet” locations before it goes up; an indoor fan on an exposed patio won’t survive its first storm.
Mounting it needs a beam or rafter rated to carry the weight and a run of outdoor-rated electrical, which is the one part of this idea worth hiring an electrician for even on an otherwise DIY project. A 52-inch fan is the standard size for anything up to a 12×16 covered area; go smaller and it moves air without actually cooling anyone sitting at the edges.
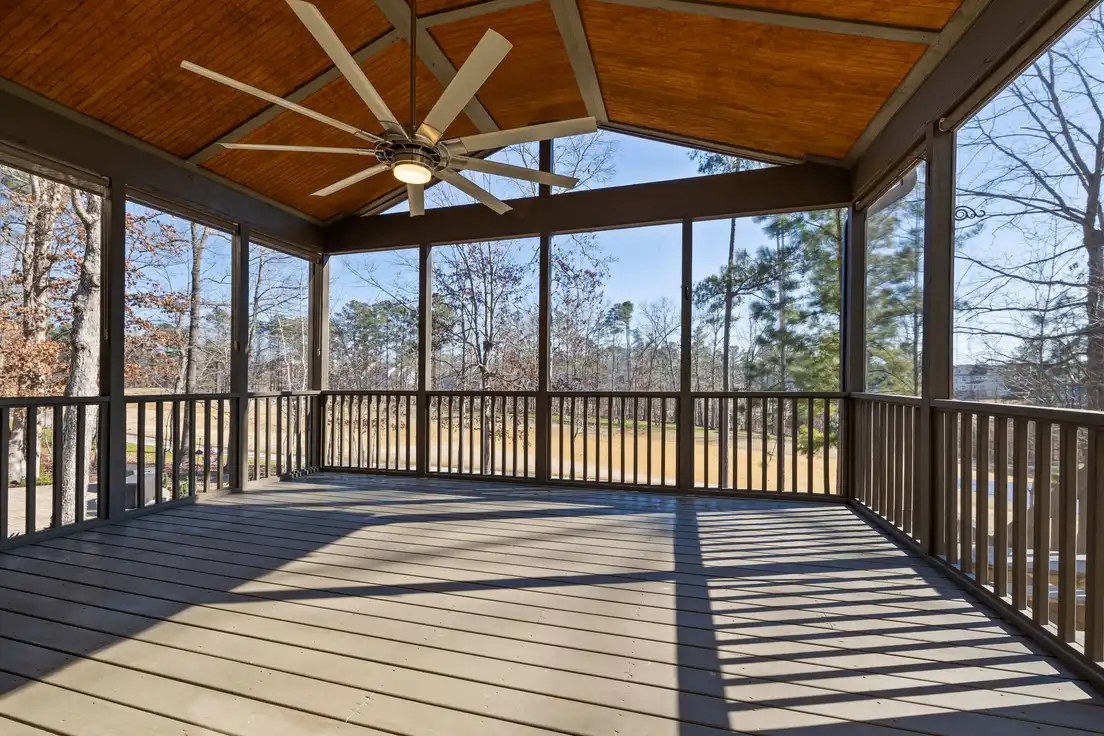
Photo by Curtis Adams on Pexels
Set up an alfresco dining zone under the cover
The cover is what makes outdoor dining a year-round habit instead of a three-good-weekends-a-year event. A table that seats the household plus two, set directly under the roofline where rain and direct sun can’t reach it, turns the covered patio into an outdoor room you actually eat in, not just a slab you walk past on the way to the yard.
Leave 36 inches of clearance behind every chair so someone can push back and stand without bumping a post or a planter — the number people skip when they’re eyeballing the layout instead of measuring it. A six-piece set is the sweet spot for a 10×12 covered footprint; anything bigger starts crowding the walkway to the door. It’s also the natural jumping-off point if you’re already planning an outdoor kitchen nearby — the dining area works better a few steps from the grill, not directly under the smoke.

Photo by Luis Redondo on Unsplash
Compare a kit against hiring it built before you commit
The honest math: a kit wins on price, a contractor wins on complexity. Which patio cover ideas make sense for your build depends on your patio’s shape and your HOA’s paperwork, not on which patio design sounds more impressive.
DIY kit
A DIY aluminum or wood kit is the budget move — expect $1,000–2,500 in materials for a 10×20 footprint, plus a weekend or two of actual labor. It’s the right call when your patio is a simple rectangle on a level slab, since a kit gets you 90% of the same result for a third of the price.
Contractor-built
A contractor-built, permitted structure of the same size typically runs $4,000–9,000. That premium buys stamped engineering plans, permit filing, and a crew that finishes in two or three days instead of two or three weekends — worth it when your roofline is complex, your HOA requires stamped plans, or the idea of renting a post-hole digger sounds like a personal attack.

Photo by Brian Wangenheim on Unsplash
Add a fire pit just past the roofline for the shoulder-season evenings
A cover handles rain and sun; a fire pit handles the 6pm chill once September shows up. Keep it well clear of the roof structure and any fabric or louvered panels — manufacturer specs exist for a reason. HPC Fire’s published clearance guide, for example, calls for roughly 36 inches of horizontal clearance from combustibles for a standard burner, and no overhead structure at all above a certain output — “safe distance” is a number in a manual, not a vibe.
A propane model sidesteps the open-flame clearance rules that a wood-burning pit needs entirely, which matters more under a low pergola or awning than it does out in the open yard. Set it just off the covered footprint rather than dead center under the roofline, so the heat source and the flammable materials overhead never share the same square foot.

Photo by Julia A. Keirns on Unsplash
Start with whichever idea matches how much of a permit conversation you’re willing to have this weekend. Everything else on this list looks better once there’s a roof over it.
Frequently asked questions
What are some cheap covered patio ideas?
Shade sails, a retractable fabric awning, or a simple lattice panel with a fast-growing vine are the lowest-cost routes — most fall under $200 and skip the permit question entirely. They trade some weather protection for price, so they work best as a warm-weather solution rather than a year-round roof.
What's the cheapest way to cover a patio?
A shade sail or a fabric canopy attachment is the cheapest real option, usually $50–150 in materials for an afternoon install. It won't hold up to heavy snow or a hard freeze the way an aluminum or wood structure will, so plan on it as seasonal, not permanent.
How much does a covered patio usually cost?
A DIY aluminum kit for a 10×20 space typically runs $1,000–2,500 in materials. A contractor-built, permitted solid-roof structure of the same size usually lands between $4,000 and $9,000, depending on your region, roofline complexity, and whether electrical work is involved.
Do I need a permit to build a covered patio?
Often, yes — especially anything attached to the house or taller than a few feet. Rules vary by city and HOA, and a low freestanding structure sometimes skips the permit process entirely. Check your local building department and HOA before you buy materials, not after.
Can you add a cover to an existing patio?
Yes. Most cover kits, attached or freestanding, are built to sit on top of an existing concrete or paver patio rather than replace it. Confirm your slab is level and rated to anchor posts before ordering — a five-minute check that saves a return trip to the hardware store.