
Kitchen & Dining
DIY Peel and Stick Backsplash: A Step-by-Step Guide
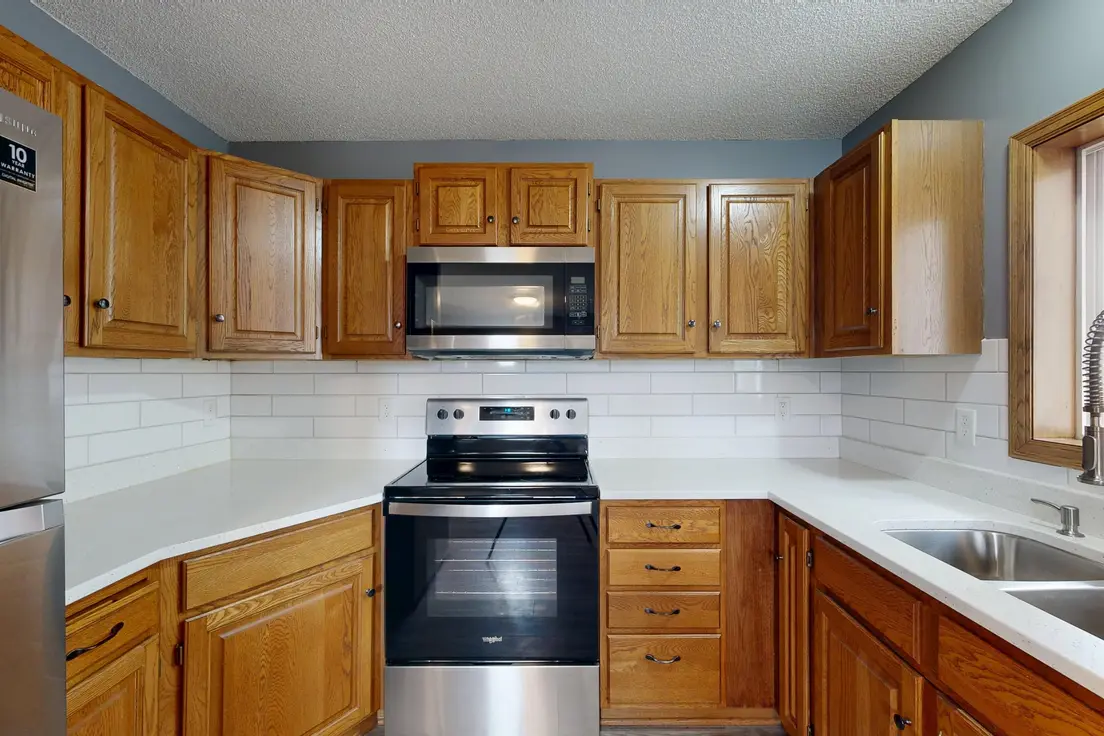
Photo by Peter Vang on Pexels
A DIY peel and stick backsplash goes up in one afternoon, no tile saw or grout float required, and most kitchens need under $150 in materials to cover a standard run behind the counter. The seven steps below are the actual order that keeps tiles level, keeps outlets from becoming a mess, and keeps the edges from lifting in six months. Skip a step to save ten minutes now, and you’ll be redoing a whole row later.
Gather Your Tools Before You Peel a Single Tile
You need less than you’d think: a utility knife ($8), a 24-inch level, a pair of scissors for tight cuts, a degreasing spray ($5), a lint-free cloth, and the tile sheets themselves, which run $8–20 per square foot depending on the finish. Glass-look and metal sheets sit at the top of that range; a plain white subway tile pattern in vinyl sits at the bottom, and it’s still the single most popular backsplash tile style for this exact installation. (We’ve bought the cheap utility knife three separate times because the good one always vanishes into the same junk drawer.)
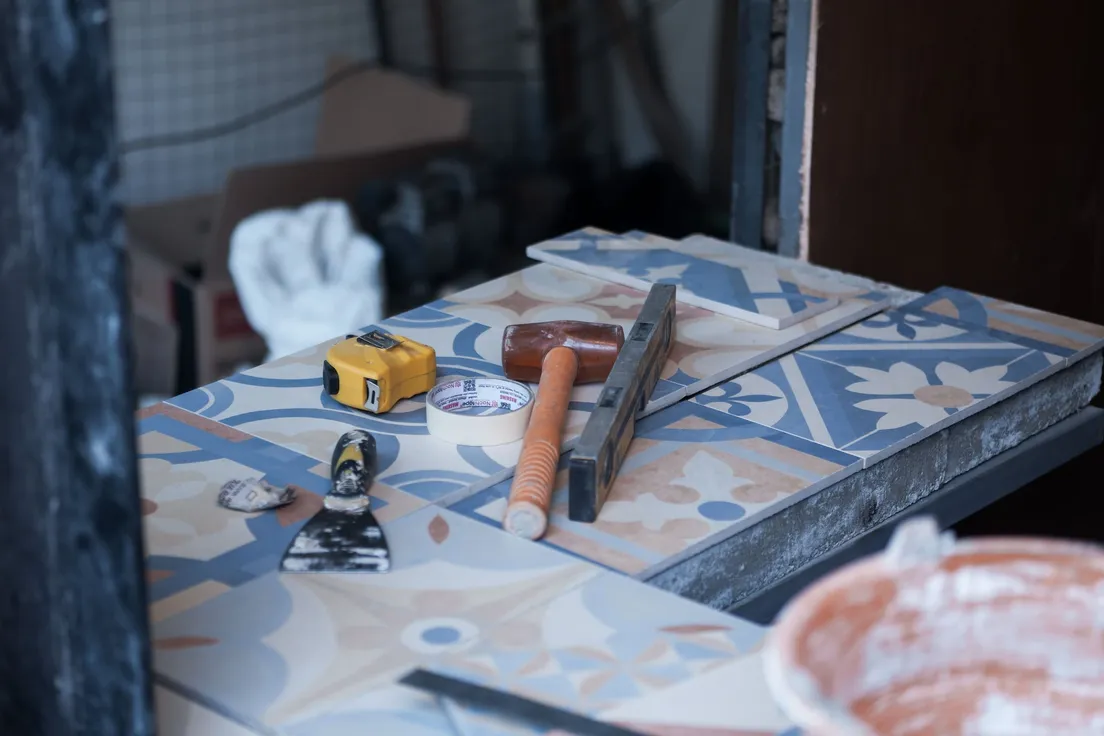
Photo by Bimbim Sindu on Pexels
Clean and Degrease the Wall So the Adhesive Actually Sticks
Wipe the entire wall with a degreaser, not just a damp rag — kitchen walls carry a thin film of cooking oil even when they look spotless, and it’s the top reason peel and stick tiles slide or lift within weeks. Skipping this step is the DIY equivalent of painting over a greasy pan and wondering why nothing holds. Follow with a dry microfiber cloth to catch any leftover dust, then let the wall dry completely, at least 30 minutes, before you peel a single backing sheet.
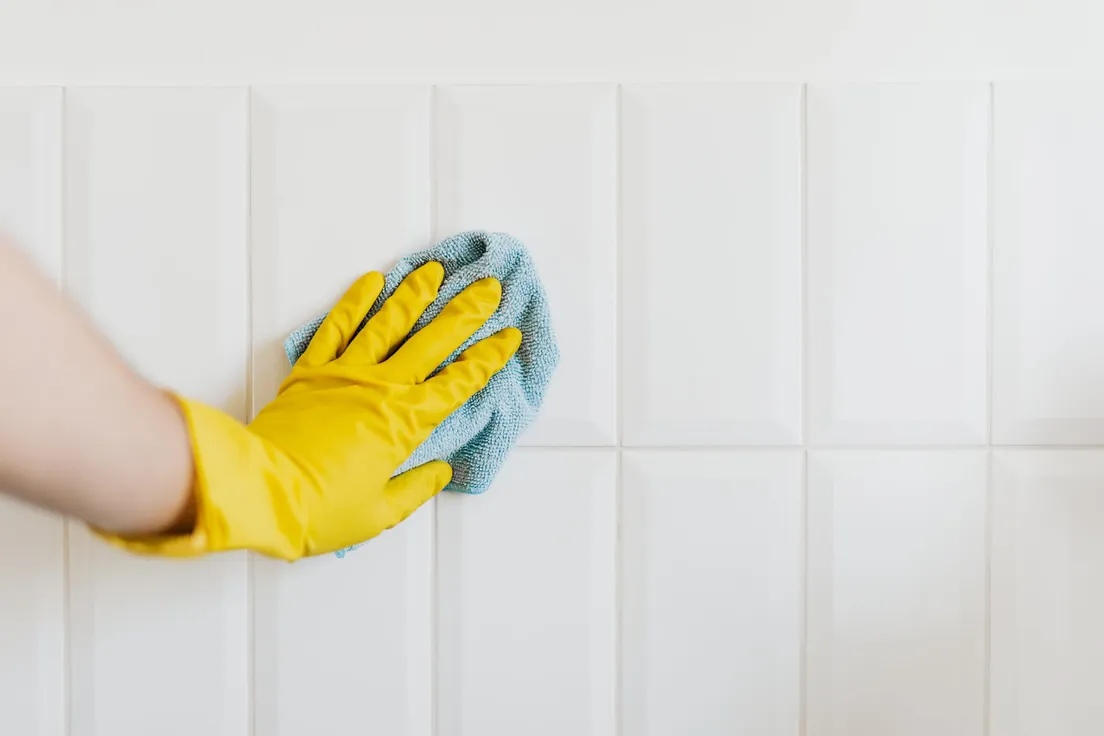
Photo by Karola G (kaboompics.com) on Pexels
Find Your Level Line Before You Commit to a Layout
Mark a level line at the height of your first row, usually just above the counter, and check it with an actual level, not your eye. Skip the level and the grout lines drift diagonally by the time you reach the cabinet — close enough to ignore from across the room, impossible to unsee up close. Dry-fit a full row along that line before peeling anything, so you know where the last tile in the row actually lands.
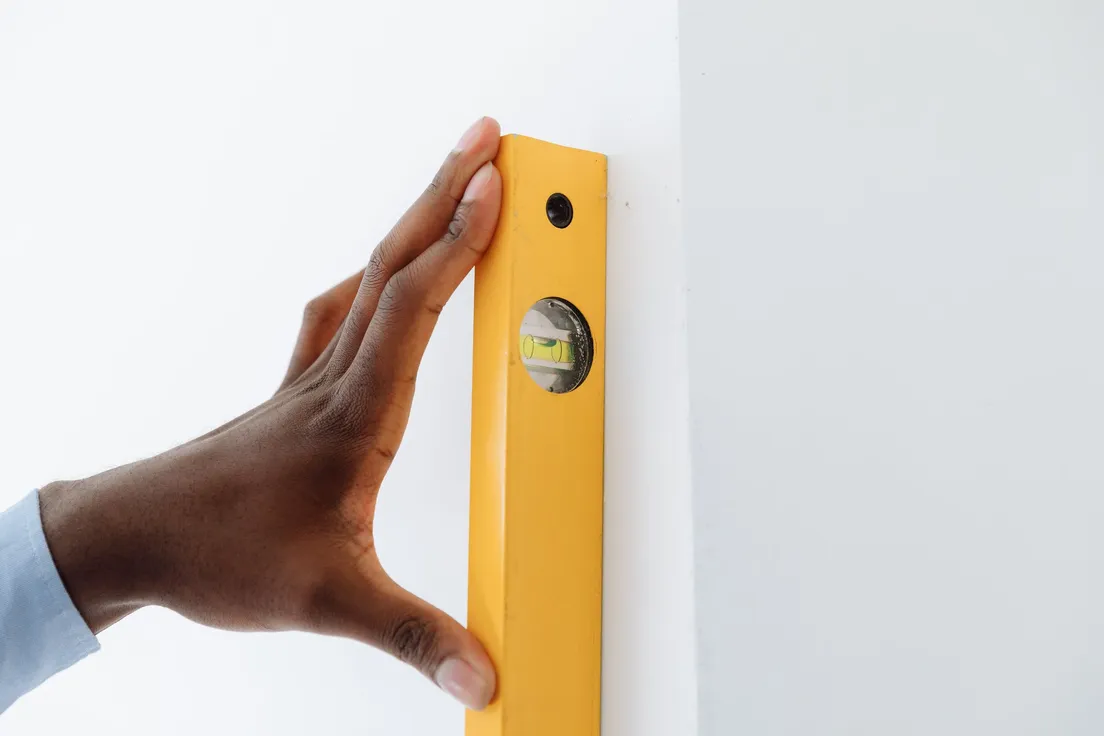
Cut Tiles to Fit Outlets, Edges, and Corners
Measure twice, then score the tile sheet with a fresh utility-knife blade against a metal ruler — a dull blade doesn’t cut peel and stick tile, it drags and tears it, and you’ll find that out on the one outlet cover you can’t easily replace. For outlets, turn off the breaker, remove the cover plate, and cut the opening slightly smaller than the actual gap; the cover plate hides a rough edge but not a gap. Scissors handle the fussy inside corners a utility knife can’t reach.
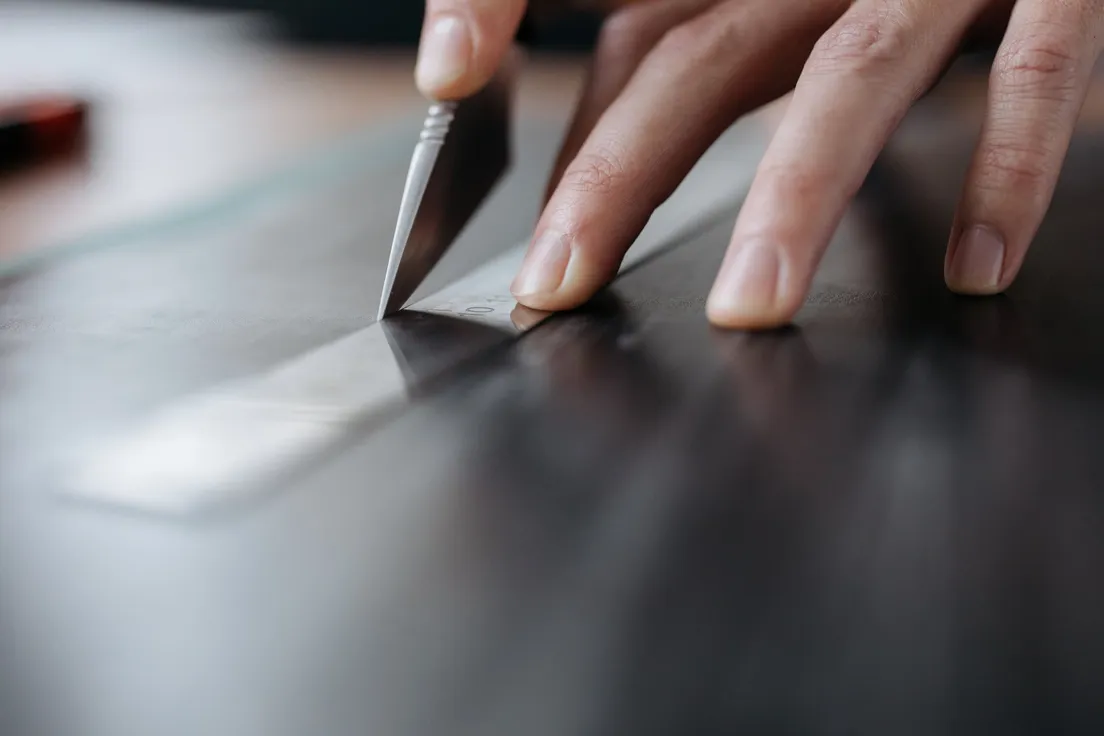
Photo by cottonbro studio on Pexels
Peel and Press: Installing the Tiles Row by Row
Peel back a few inches of backing paper, set the top edge on your level line, and press firmly from the center outward to push out air bubbles before peeling the rest of the backing away. Work left to right in one row before starting the next, not tile to tile up the wall — the seams forgive a top-down order and expose every mismatch in the reverse. A small roller (or the flat side of a plastic scraper) gets the edges down flush, especially near seams and outlets.
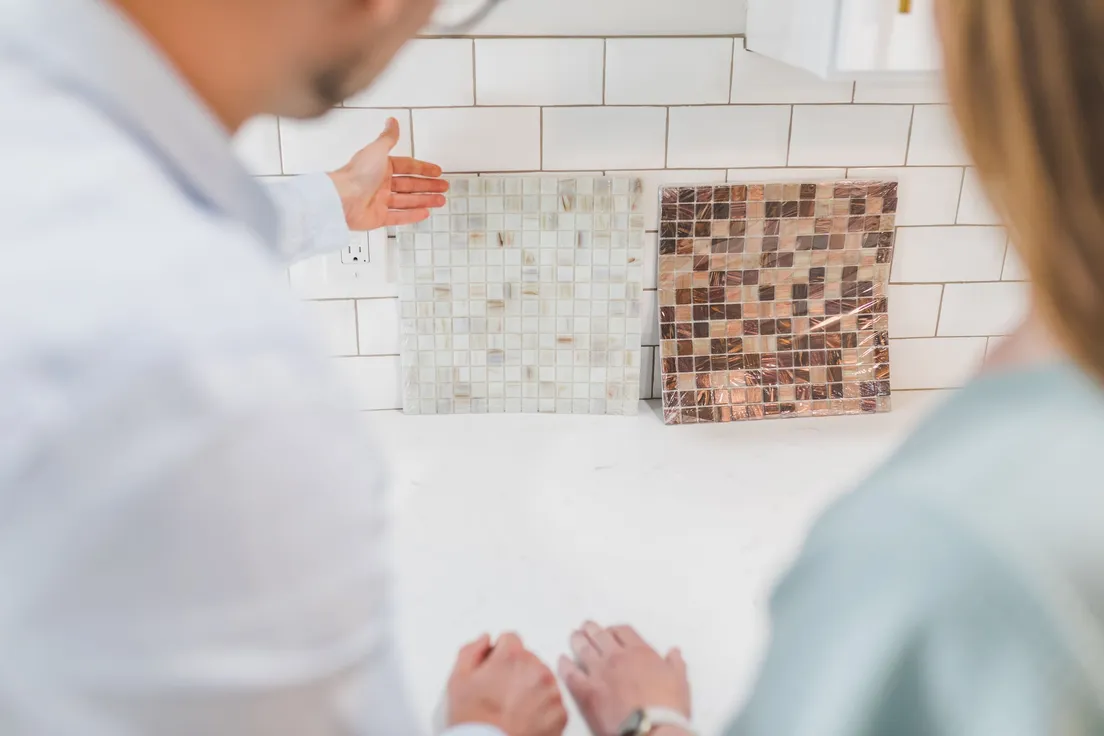
Photo by RDNE Stock project on Pexels
Seal the Edges So It Actually Lasts
Run a thin bead of clear caulk along the top edge, the counter seam, and any outer corner where a fingernail could catch and start peeling the tile back. Peel-and-stick is genuinely good now, but it isn’t permanent-proof — we put one up over a rental backsplash once, and the two tiles closest to the stove started curling at the edges within six months from heat and steam, while the rest of the wall, out of direct range, still looks perfect years later. Keep it off the wall directly behind a range if you can; everywhere else, it holds.
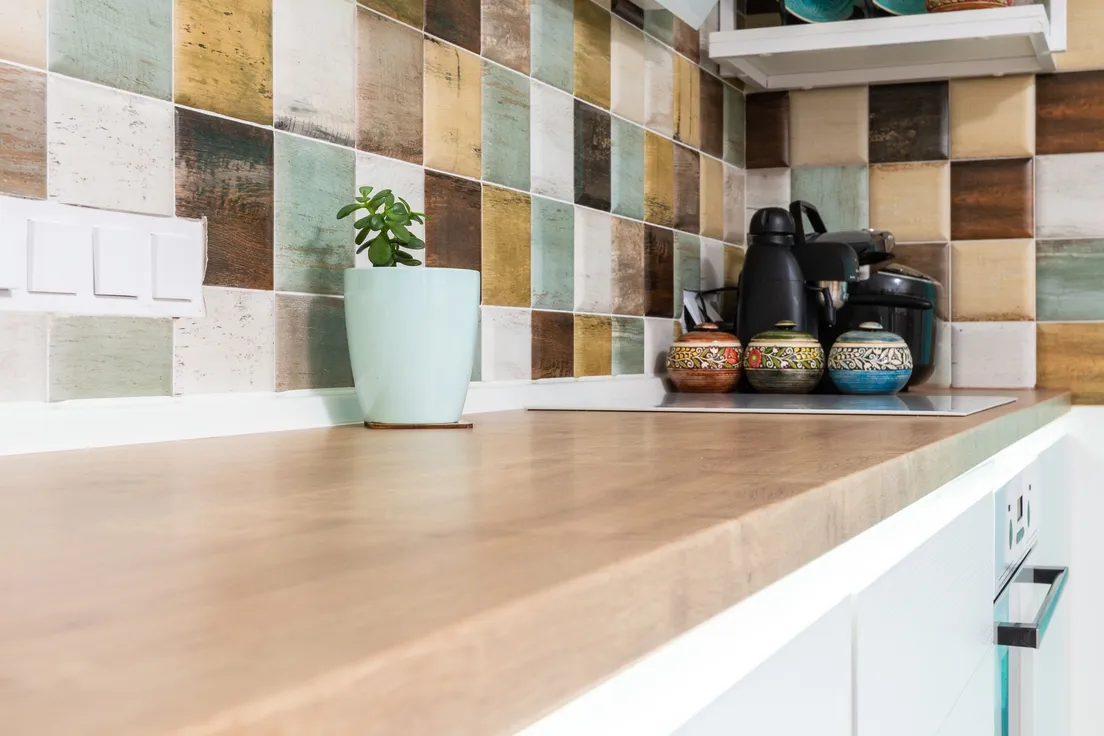
Photo by Max Vakhtbovych on Pexels
The Honest Math: What a DIY Peel and Stick Backsplash Actually Costs
Here’s the honest math for a typical 30-square-foot run behind a standard run of countertops: tile sheets at $12/sq ft average to $360, plus a $20 tool kit (knife, level, degreaser, caulk) if you don’t already own one — call it $380 total, done in an afternoon. A licensed installer quoting the same backsplash tile installation typically starts around $600–900 in labor alone, on top of materials. That gap is the whole case for doing it yourself once, carefully, using the steps above instead of guessing.

Photo by Karola G (kaboompics.com) on Pexels
Start with the wall prep, not the tile. Every backsplash that’s ever failed early on us skipped the degreaser step to save ten minutes — the tile itself was never the problem.
Frequently asked questions
Can I install a peel and stick backsplash myself?
Yes — it's one of the few kitchen upgrades built for a first-timer. No tile saw, no mortar, no grout float. A basic 3×3-foot section is a two-to-three-hour job with a utility knife, a level, and a pair of scissors for the fiddly cuts around outlets.
Can you install peel and stick backsplash directly on drywall?
Bare drywall works if it's clean, dry, and free of texture — but painted drywall in a semi-gloss or satin finish holds the adhesive better than flat paint or raw drywall does. Skip it entirely on heavily textured or crumbling plaster; the tiles need a smooth surface to grip.
What makes a peel and stick backsplash stick better?
A degreaser wipe-down first, every time — kitchen walls carry a thin film of cooking oil even when they look clean, and it's the single biggest reason tiles slide or lift within weeks. Let the wall dry completely before you peel a single backing sheet.
How long does a peel and stick backsplash actually last?
Years, on a wall that's not in direct heat or splash range — several of ours are still holding at the three-year mark. Right behind a stove or a sink faucet, expect the edges to start lifting within six months to a year from heat and moisture.
Can peel and stick tiles go over an existing tile backsplash?
Yes, if the existing grout lines are shallow and the surface is flat — deep grout lines telegraph through and the tile won't bond evenly across them. Clean and degrease the old tile exactly as you would drywall, and skip it if the surface is glossy or curved.