
Backyard & Patio
13 Patio Ideas With Pavers for Every Budget and Yard
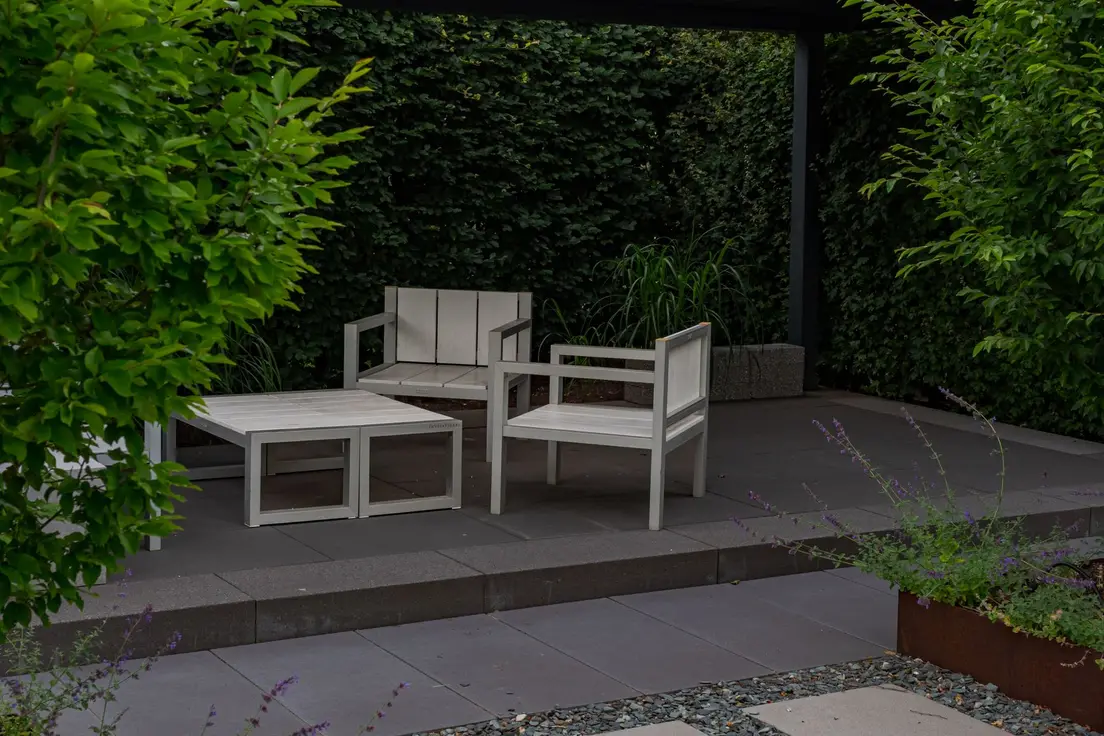
Photo by Sergej ***** on Pexels
Patio ideas with pavers all solve the same base problem, whichever pattern you land on: how to turn a bare slab of concrete or a rectangle of dead grass into outdoor space you’d actually sit in. Pavers get you there without the multi-day pour and the crack-in-year-three of a poured slab, and most of the ideas below top out at a weekend of labor if you’re doing it yourself. None of this requires a contractor’s truck in the driveway — though the honest math section below will tell you exactly when it should.
Paver patio ideas at a glance
Concept renders — visual references, not photos of a finished project.
Lay a herringbone pattern for a patio that looks custom, not kit-built
A 45-degree herringbone hides small cutting mistakes at the edges better than any other layout — the diagonal lines already break up the eye, so a slightly-off cut reads as part of the design, not a flaw. It also locks pavers together mechanically under foot traffic, resisting shifting in a way a plain grid layout won’t.
Expect to cut roughly 10–15% of your pavers to finish a herringbone border, more than a straight running-bond layout needs. Cutting pavers with a hand chisel is technically possible the same way opening a paint can with a butter knife is technically possible. Rent a wet saw for the one day you need it.
Mix two paver sizes into a basketweave and skip the cutting saw entirely
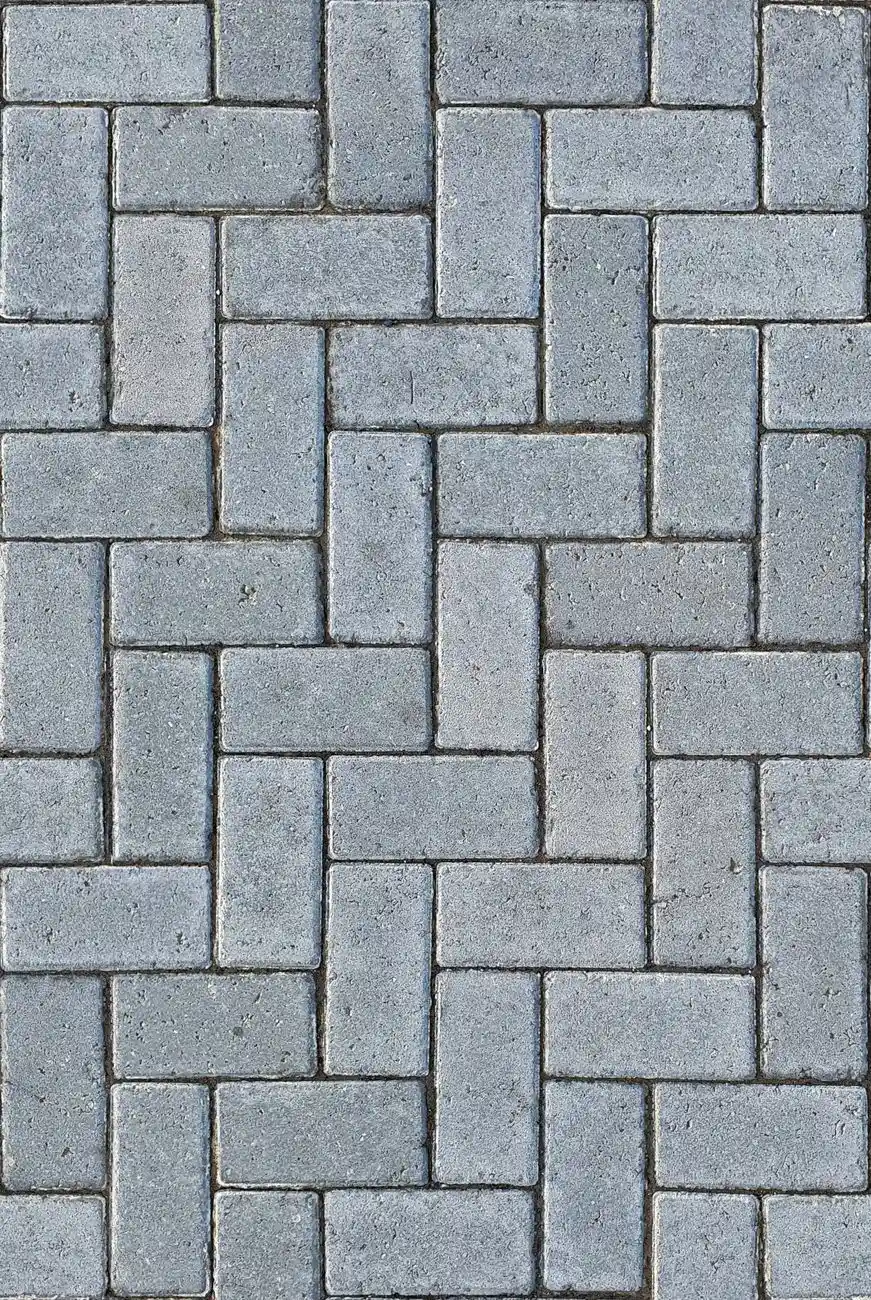
A basketweave pattern alternates pairs of rectangular pavers at 90 degrees, and because every paver is a full, uncut piece, you skip the wet saw and the 10–15% waste herringbone costs you. It’s the pattern that actually gets easier with a bigger patio, since the repeating two-paver unit tiles out cleanly at any size without a custom border cut.
It also hides more base-prep mistakes than herringbone does — mostly because nobody’s eye can find the one paver that’s sitting a half-inch proud in a pattern this busy already. Stick to two sizes with a clean ratio (a 1:2 rectangle-to-square works best) or the eye starts hunting for a repeat that isn’t there. Two well-chosen sizes read sleek and deliberate; three or more just reads busy.
Choose exposed-aggregate or hex pavers for texture, not just color
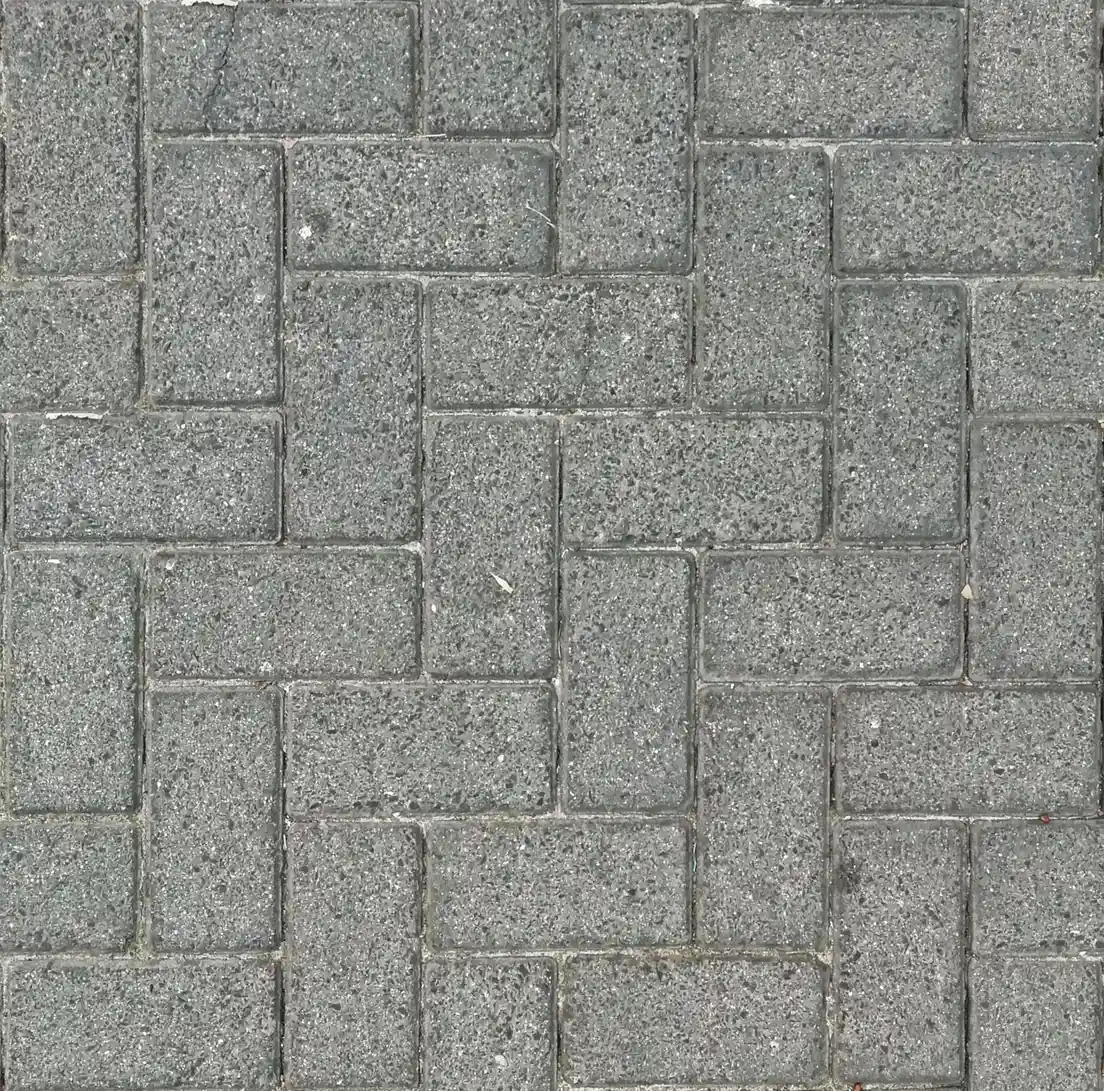
Most paver patios compete on pattern and color; exposed-aggregate and hexagonal pavers compete on decorative texture instead, showing real embedded stone across the surface for genuine visual interest rather than a flat, uniform face. They also grip better underfoot when wet than a smooth paver does — the same reason this finish shows up on pool decks.
They cost roughly 20–30% more than a plain gray square paver, and they look like it — the one upgrade on this list where paying more is the actual point, not a trap. Save it for the section of the patio people will actually stand on barefoot, not the whole footprint if the budget’s tight.
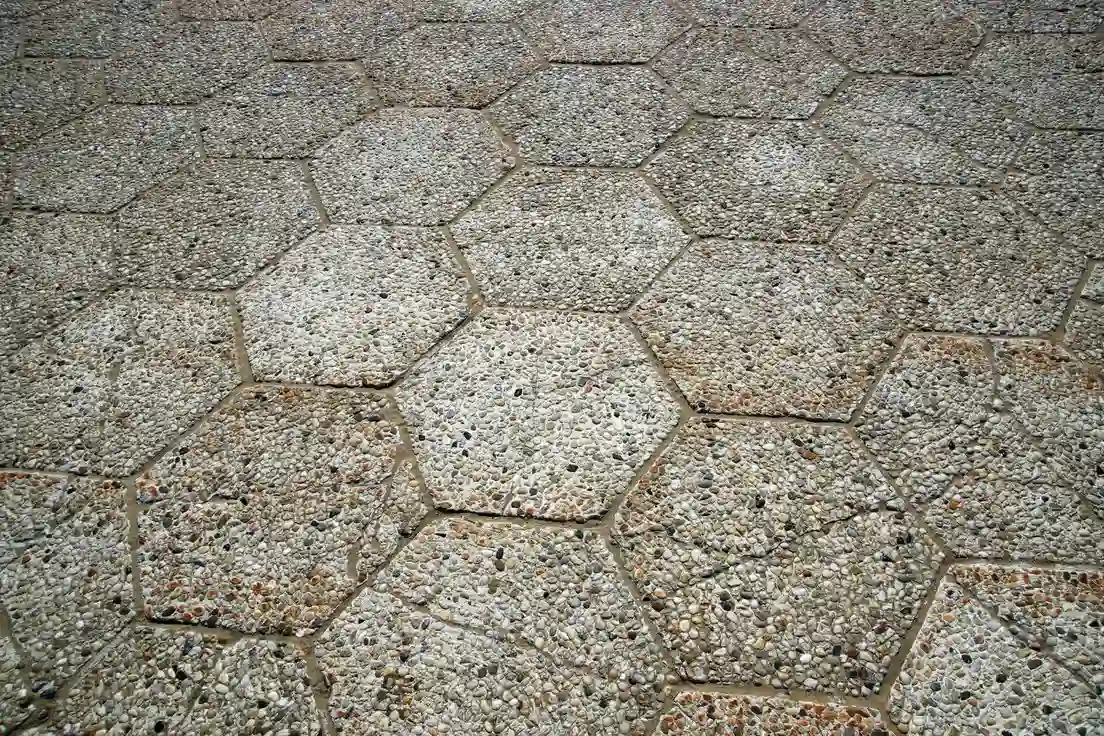
Photo by Tom Van Dyck on Pexels
Frame the patio with a low garden wall so the edge doesn’t just stop
A patio with no defined edge just reads as “the yard, but flatter.” A single course of contrasting block or brick around the perimeter — even just 6–8 inches tall — gives the eye a stopping point and doubles as extra perch seating when you’re hosting more people than chairs.
It’s also the natural spot to work in a planter at each corner, which softens the hard edge and gives the eye a real focal point instead of a fence line. If you’re planning a fire pit pad, an outdoor kitchen with a grill, a pergola, or an outdoor fireplace, build the low wall to match those materials now — retrofitting a border later means recutting pavers you already paid for.
Cut material costs by setting pavers into pea gravel
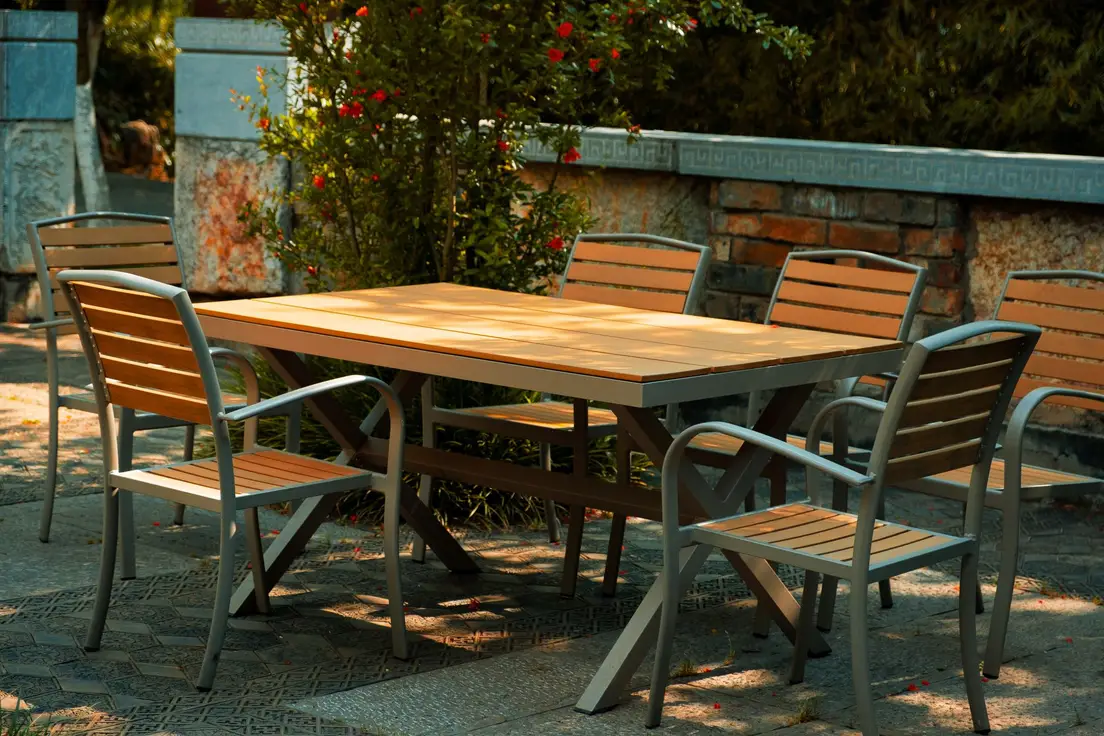
Irregular pavers set into pea gravel instead of butted edge-to-edge use roughly 40–60% fewer pavers than a fully paved footprint of the same size, since the gravel does the job of filling space that would otherwise cost you per square foot. It reads more casual and garden-adjacent than a solid paved slab, which works in your favor if the rest of the yard is planted rather than manicured.
The tradeoff: gravel between pavers means you’ll never lose a bocce ball to a crack in solid concrete — you’ll just lose it to the gap between two stepping pavers instead. It also needs a weed barrier underneath — or a low ground cover at the true edges — or you’re pulling weeds out of the gravel by August.
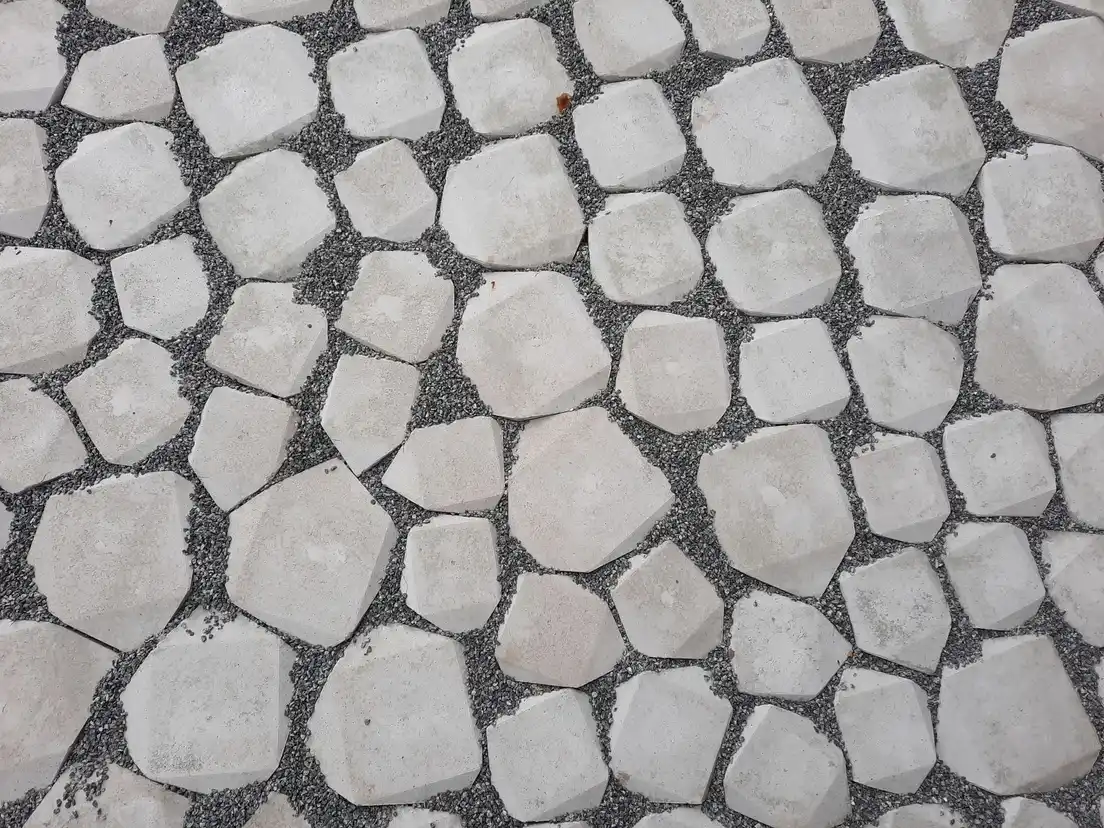
Photo by Timothy Huliselan on Pexels
Keep the patio small and cozy instead of paving the whole yard
A 10×12 backyard patio seats a real conversation group and costs a fraction of paving the entire backyard — most of the outdoor living that actually happens is within reach of a chair, not spread across the whole lawn. A fire pit, two chairs, and a little shade is already a complete outdoor room, not a downsized version of a bigger one. Measure the actual footprint you want before you order material, and measure the real space, not a guess off a photo.
We once ordered pavers to fill what we measured as a 10×10 patio off a phone photo instead of the actual slab — turned out the space was closer to 11×13 once the planter beds were accounted for, and we paid $40 more and waited two weeks for the extra box to ship. Measure the ground, not the picture of the ground.
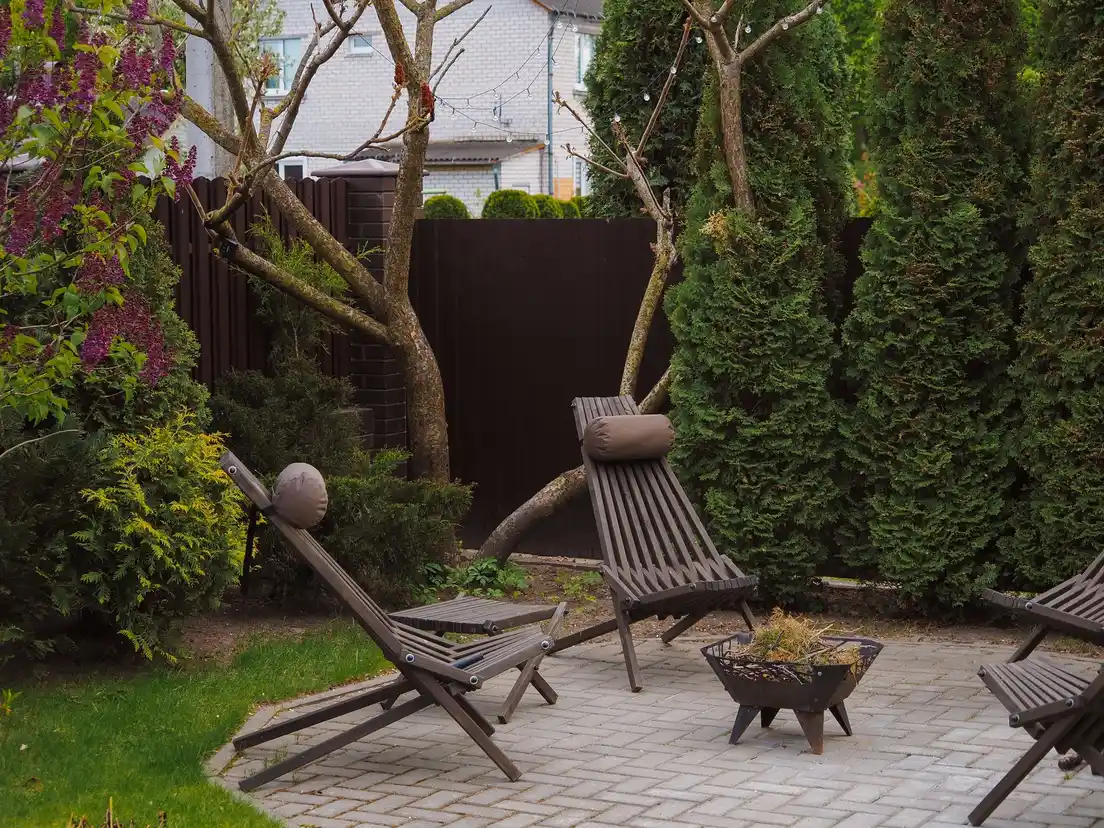
Photo by Alina Okan on Pexels
Run a paver stepping-stone path from the patio into the yard
A stepping-stone path ties the patio to the rest of the landscape instead of leaving it as an isolated island of pavers. Space the stones to match a natural stride — roughly 24 inches center to center — or people end up walking beside the path instead of on it.
A path that dead-ends at the fence is a very expensive way to say “turn around.” Give it an actual destination: a gate, a shed, a garden bed, a second seating nook.
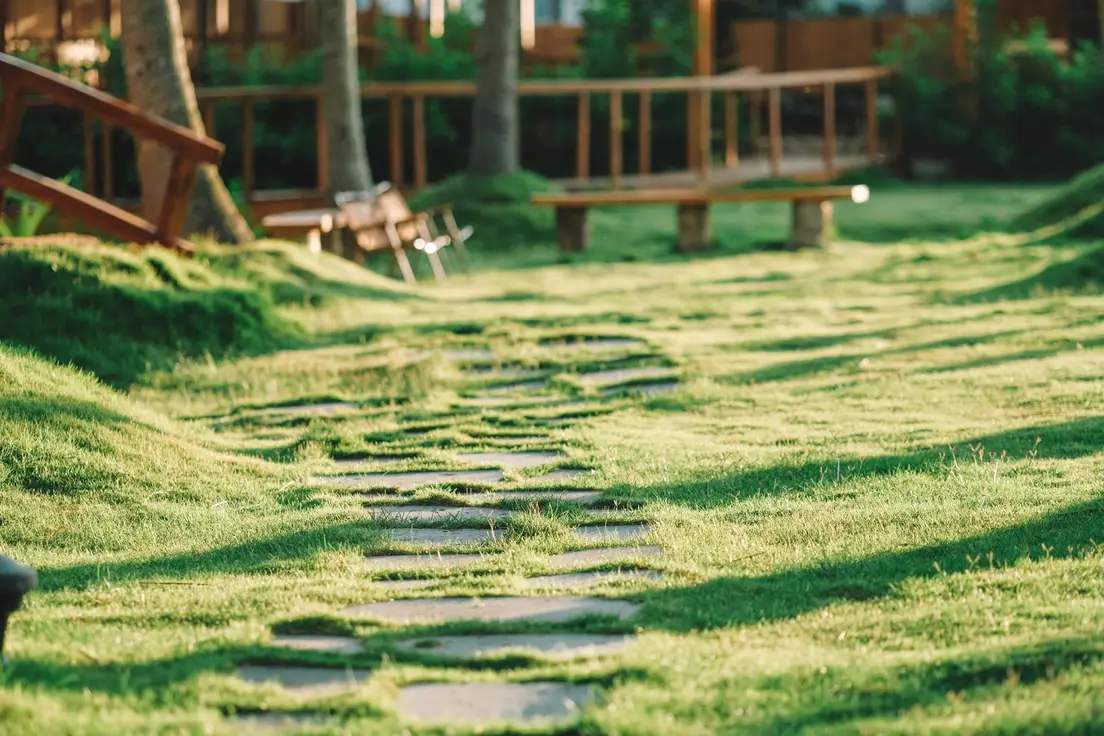
Photo by Pew Nguyen on Pexels
Choose permeable pavers if your yard holds water after a storm
Permeable pavers use wider joints filled with open-graded gravel instead of sand, letting rainwater drain straight through the surface into the ground instead of running off toward your foundation or a low corner of the yard. The EPA’s guidance on permeable pavement confirms the core benefit: less stormwater runoff, less standing water, less strain on a yard that already struggles to drain.
They cost roughly 10–20% more than standard pavers and need the gravel joints refreshed every few years instead of just swept. That premium is the universe’s way of billing you now instead of billing your basement later — worth it specifically if you already know which corner of the yard turns into a puddle every spring.
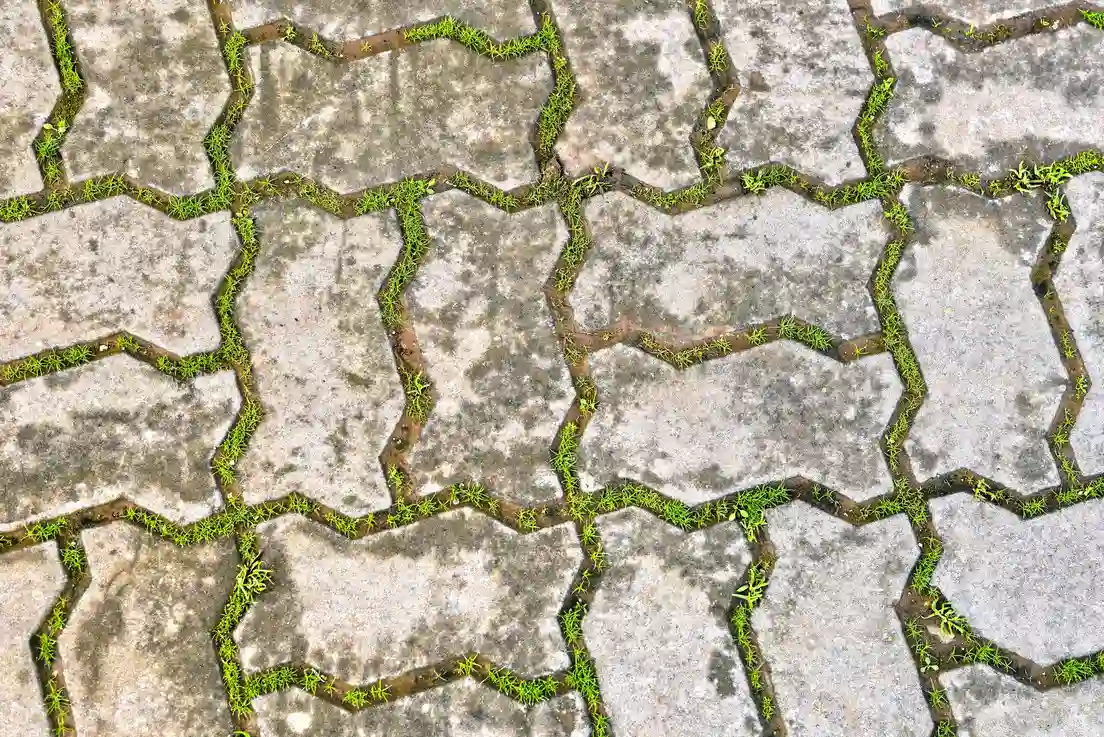
Photo by Moussa Idrissi on Pexels
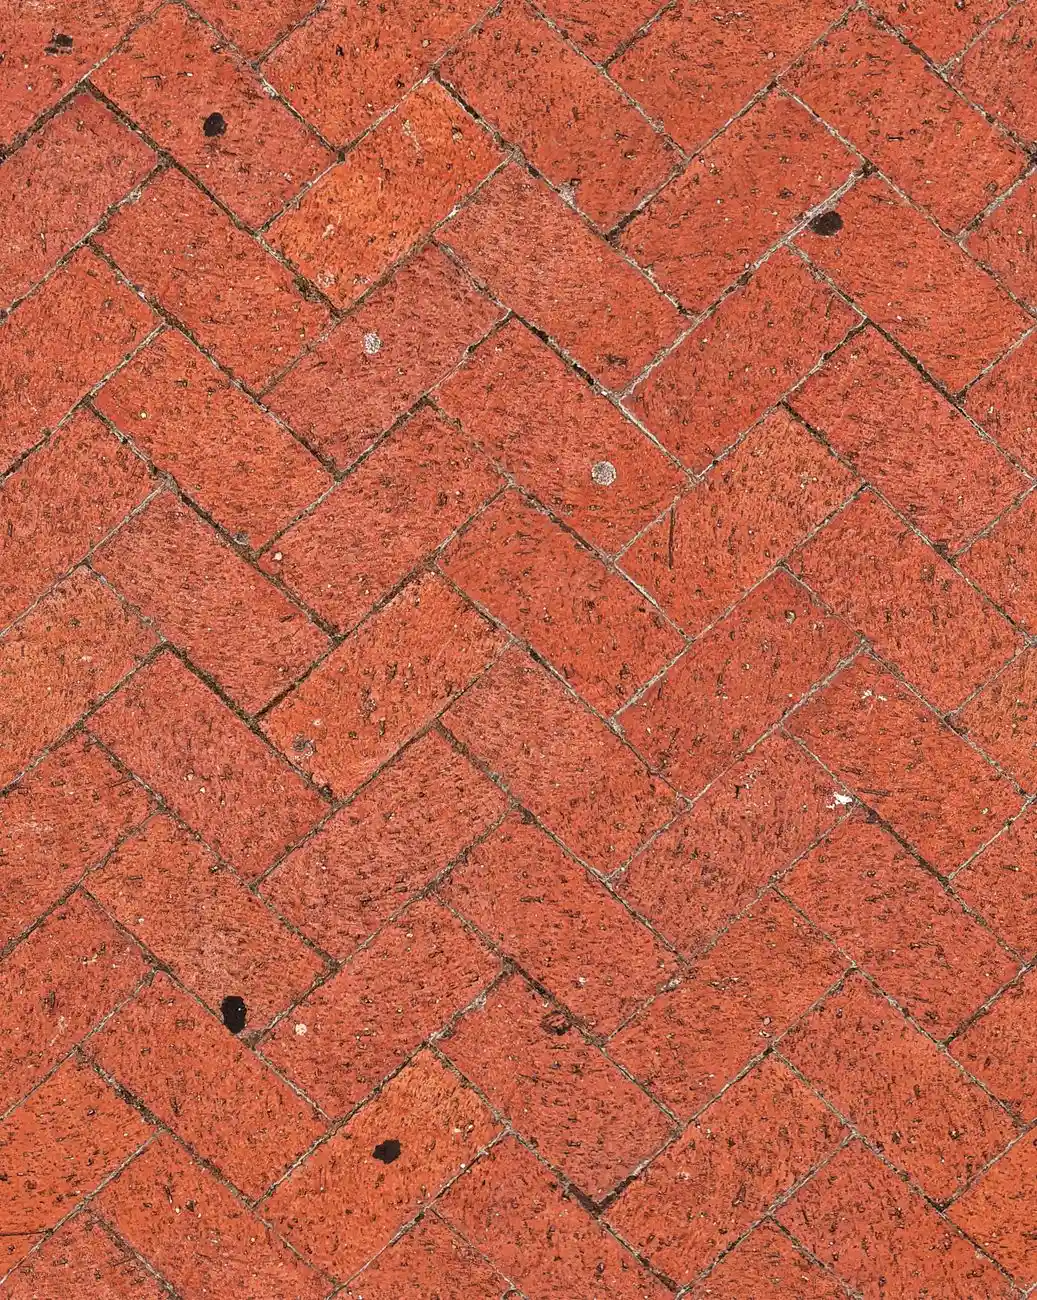
Source reclaimed brick for the cheapest real square footage
Reclaimed brick from a salvage yard or a demolition sale typically runs 30–50% less than new brick pavers, and it already has the worn, slightly uneven look that new brick fakes with a “tumbled” finish and a markup. It suits an older house immediately, in a way a pallet of uniform new brick takes a few seasons to earn.
We’ve hauled home a truck bed of “free” reclaimed brick that turned out to be one wheelbarrow of usable, intact pieces and the rest landscaping rubble. Sort and count before you commit a whole patio’s footprint to salvage brick — buy 15% more than your measured square footage to cover the pieces that crumble on the drive home.
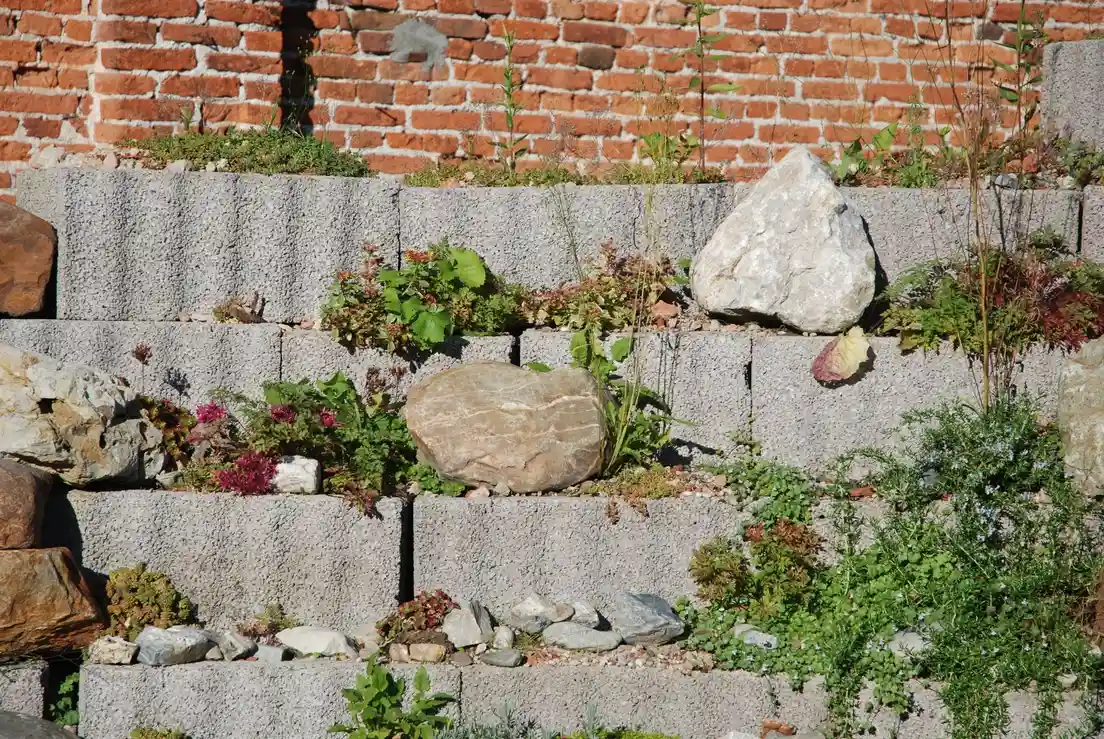
Build a low retaining or seat wall where the yard slopes
A sloped yard doesn’t rule out a paver patio — it just means the patio needs a retaining wall on the downhill side to hold a level, compacted base instead of letting it wash out after the first hard rain. Keep the wall under about 3 feet if you’re building it yourself; taller than that usually needs engineered drainage and a permit, not just more block.
Build it wide enough to sit on — roughly 18 inches — and it becomes a seat wall instead of a wall, which means it never has to compete with furniture for the budget. A seat wall means you never again ask four people to share a cooler as a bench. Past 3 feet, use engineered wall block, not stacked stone, or it shifts after the first freeze.
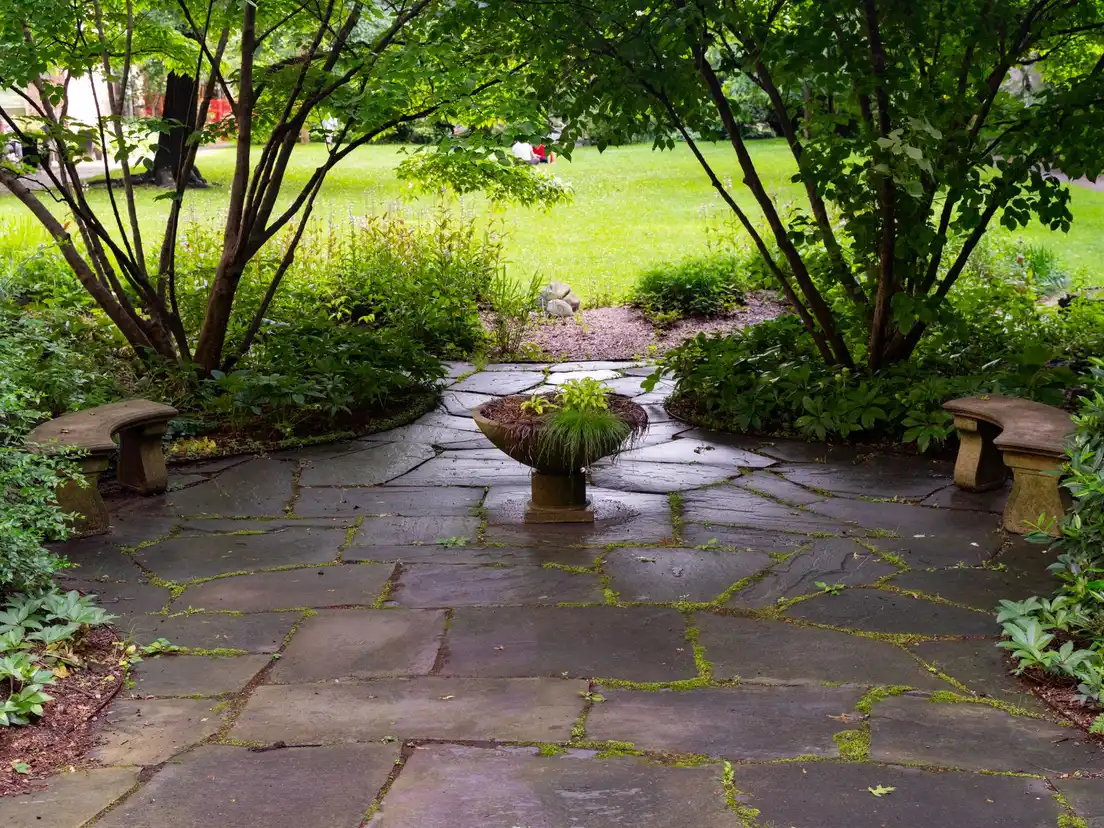
Upgrade to natural flagstone if you want it to outlast the house
Flagstone costs the most per square foot of any material on this list — often double a standard concrete paver — and it’s also the only one here your grandkids might actually inherit. Real stone doesn’t fade or need replacing after one freeze-thaw cycle the way a cheaper paver can — that durability is about as close to timeless as it gets, and the natural beauty is real stone, not a printed finish.
It’s not the right default for every patio on this list, and we won’t pretend it is: if the rest of your yard is builder-grade and temporary, a flagstone patio is the one splurge, not the standard. Save it for the patio you know you’re not moving away from in three years.
Here’s the honest math: DIY paver patio vs. hiring it built
Which paver patio design ideas make sense for your yard depends on the base work, not on which pattern looks best in a photo. The pavers themselves are the easy part of any hardscape project; the compacted gravel base underneath is where most DIY paver patios actually fail.
DIY
A DIY paver patio runs $4–9 per square foot in materials — pavers, base gravel, sand, edge restraint — for a flat yard under roughly 200 square feet. (Renting a plate compactor for the day costs almost as much as buying one. Rent it anyway — you don’t want to store it.) Budget a full weekend, two people, for anything in that range.
Contractor-built
A contractor-installed patio of the same size runs $10–20 per square foot, and it’s worth it once your yard slopes, needs real drainage work, or tops 400 square feet — excavation and base compaction at that scale is genuinely harder to get right solo than the paver-laying itself. The FTC’s guide to hiring a contractor is worth a read before you sign anything, paver patio or otherwise.
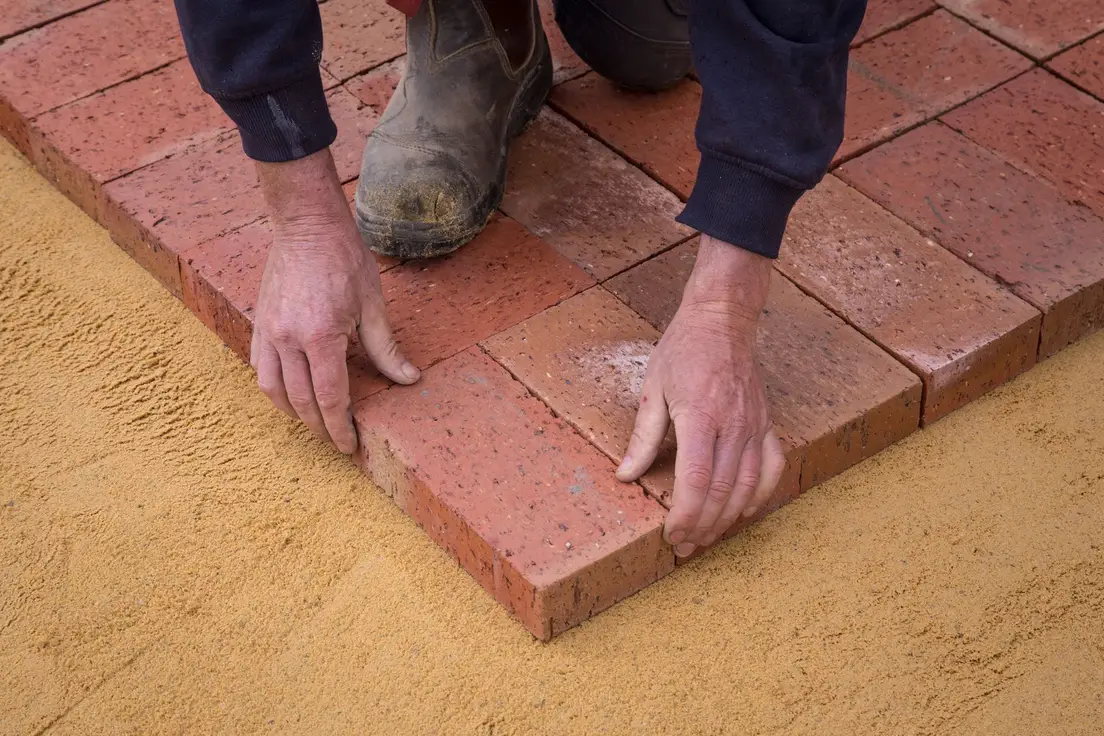
Photo by Littlehampton Bricks on Pexels
Seal the joints and refill the sand so weeds don’t move in
Polymeric sand swept into the joints and activated with water locks every patio paver in place and resists weeds far better than plain sand, which washes out within a season or two and leaves a gap that’s basically an invitation. Reapply it every 2–3 years, sooner in a yard with heavy rain or a lot of foot traffic.
Skipping the sealer to save $80 is how a patio that cost real money starts looking neglected within two summers — faded, gappy, sprouting grass at the seams. That durability depends on this five-minute yearly step almost as much as it depends on the pavers, and it’s the step most people skip first.
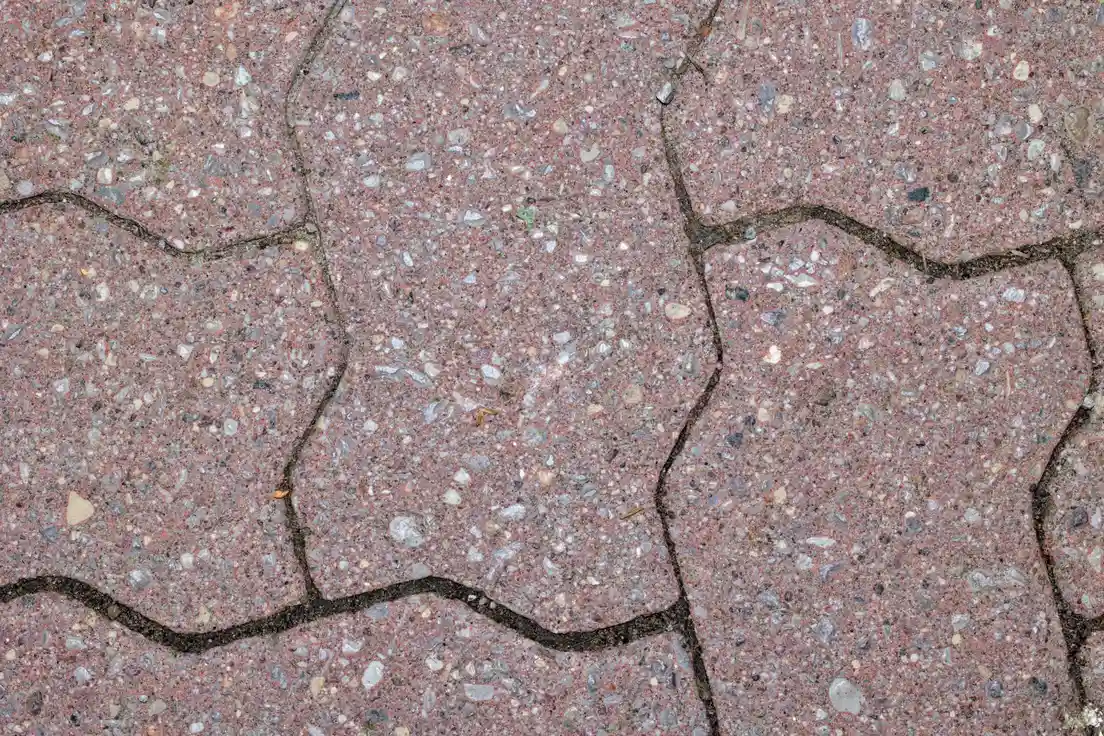
Photo by Ghost Acolyte on Pexels
Start with the pattern. Every other decision on this list — border, budget, base — gets easier once you actually know what the ground is going to look like.
Frequently asked questions
How much does a 20x20 paver patio cost?
A 400-square-foot paver patio runs roughly $1,800–3,600 in materials if you install it yourself, or $3,200–8,000 installed by a contractor, depending on paver type and your region. Natural stone pushes toward the top of that range; basic concrete pavers sit at the bottom.
How do I design a patio with pavers?
Start with the shape and size that fit your actual furniture, not the biggest rectangle that fits the yard. Pick one paver size or color as the base, add a border or accent pattern for definition, and get the compacted gravel base right before anything else — the base is what makes the design last.
Is it cheaper to get pavers or a concrete patio?
Poured concrete is usually cheaper upfront, around $6–12 per square foot installed versus $10–20 for pavers. Pavers cost more to install but less to repair — you replace one cracked paver instead of patching or repouring an entire slab.
What types of pavers are best for a patio?
Concrete pavers are the budget default and come in the widest range of colors and patterns. Natural stone (flagstone, travertine) costs more but won't fade. Brick suits older or traditional homes. Permeable pavers are worth the premium if your yard already struggles to drain.
What are some ideas for small paver patios or courtyards?
Keep the shape simple — a square or rectangle wastes the fewest cut pavers. Use one paver size instead of a busy multi-size pattern, and let a low wall or gravel edge define the space instead of built-in furniture eating the square footage.