
Small Spaces
How to Build a Temporary Wall: Framed, Modular, or Kit
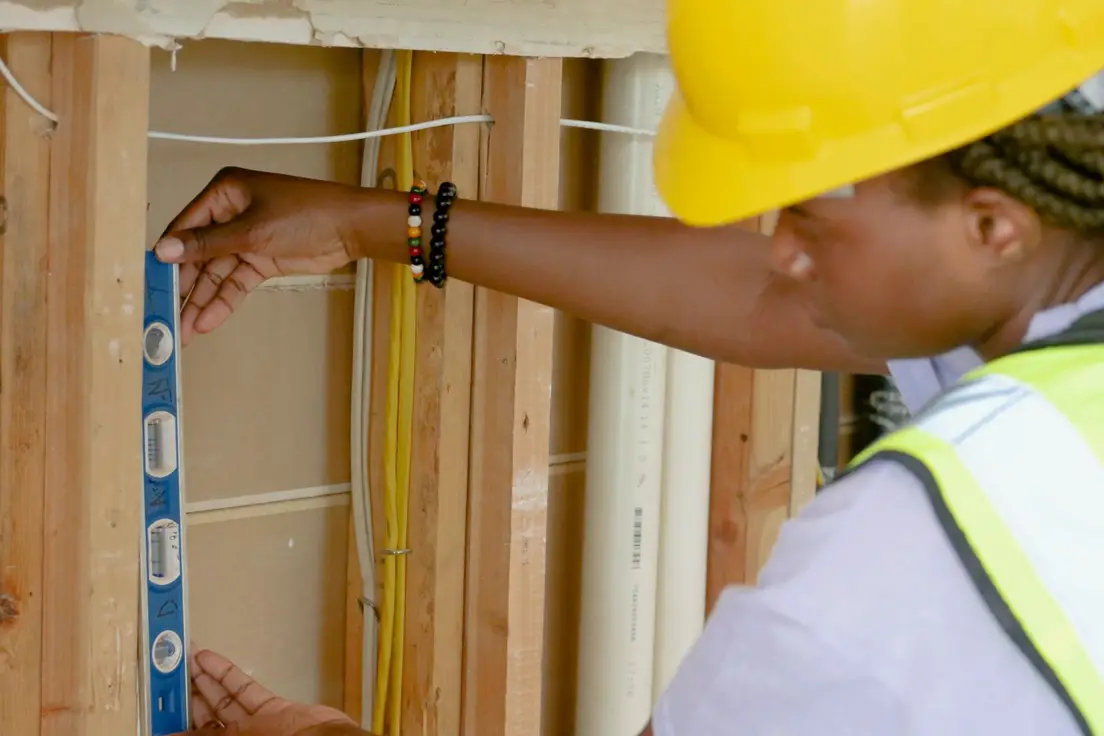
Photo by Kindel Media on Pexels
The fastest way to build a temporary wall is a pressure-fit modular kit — telescoping poles and panels wedged floor to ceiling, no fasteners into the structure, up in an afternoon. A framed stud-and-drywall wall takes longer and looks more like a real wall once it’s painted, which matters if you own the place or plan to stay a while. Both are short-term fixes for a living space that suddenly needs to do two jobs at once, and both are covered below, with real costs, the tools each one needs, and the lease question to answer before either goes up.
Choose the right kind of temporary wall for your space
A modular kit wins on speed and reversibility: no nails, no drywall dust, and it comes down as easily as it went up, which makes it the only real option for most renters. A framed wall wins on permanence and looks — it takes paint, holds a heavier door, and reads as an actual room split instead of a visible system. Between them, a tension curtain or a freestanding screen exists for anyone who wants zoning without committing to either build — lighter-weight room dividers that don’t touch the existing walls or reshape the open floor plan at all, covered in our room divider ideas roundup.
Pick based on how long the wall needs to stay and what you’re allowed to do to the space, not on which one looks more finished in a photo — a homeowner planning to sell in two years and a renter with an 18-month lease want the same answer here, even though only one of them technically could build the framed version. The same choice comes up whether you’re splitting a studio apartment’s living room, carving a guest room out of an unfinished basement, or replacing a wall a previous owner already tore out — the demolition part is usually the easy part.
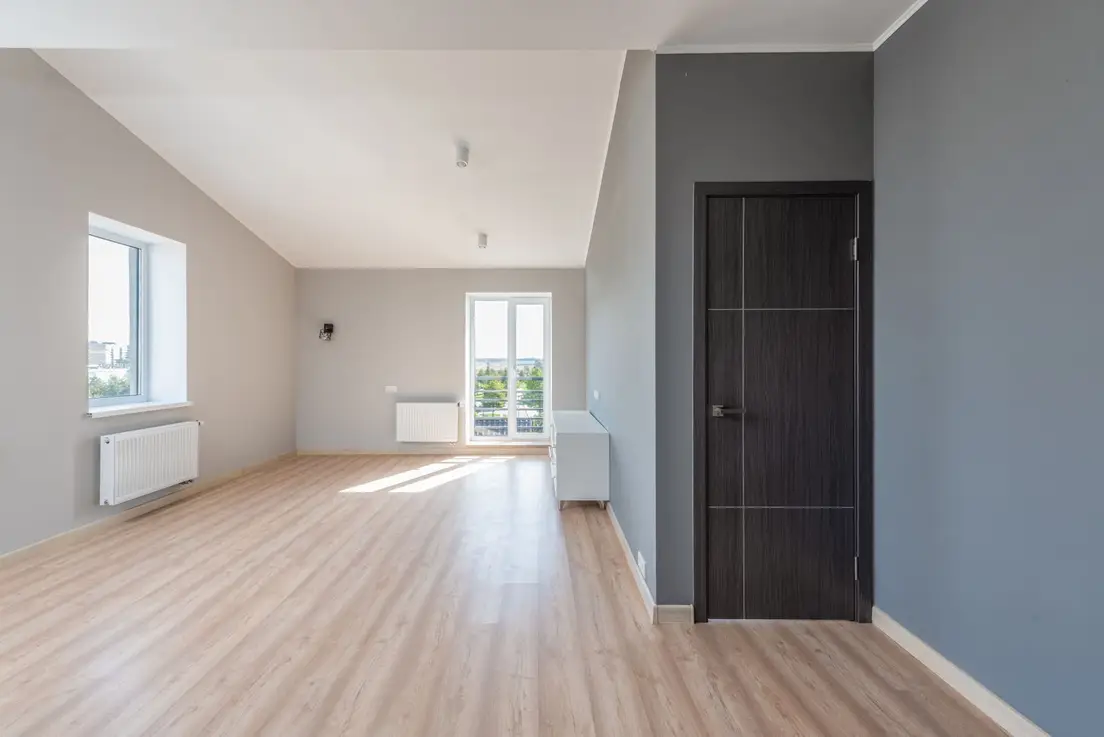
Photo by Max Vakhtbovych on Pexels
Gather the tools and materials before you start
For a framed wall: two-by-fours (2x4s) for the top plate, bottom plate, and wood studs (spaced 16 inches on center), drywall sheets, drywall screws, a stud finder, a tape measure, a level, a circular saw, a drill, a hammer, and joint compound with tape for finishing the seams. Budget one full sheet of drywall per roughly 32 square feet of wall, plus 10% extra for cuts and mistakes — closer to a small renovation than a single afternoon, once you count the finishing.
For a modular kit: nothing beyond what ships in the box, usually the telescoping poles, panel inserts, and a rubber-tipped foot to protect the ceiling and floor finish. (We’ve measured a doorway wrong exactly once buying furniture; measure the actual ceiling height, not the listing’s “8-foot ceilings” claim, before either project.)

Photo by Kaboompics.com on Pexels
Find your ceiling joists before you mark anything
Run a stud finder — a magnetic one works fine for finding screws in existing drywall, an electronic one is more reliable for a ceiling joist — along the ceiling first, not the floor. The top plate needs to land on a joist or blocking, the same way any wall stud needs solid backing, or the whole wall has nothing to press against once it’s framed. Mark the joist locations lightly in pencil, then measure and mark the wall’s actual layout on both the ceiling and the floor with masking tape, checking the two lines align with a plumb bob or a laser level before you cut a single stud.
This step is the one worth doing twice. A wall that’s an inch off between its ceiling mark and its floor mark reads as crooked from across the room, and there’s no fixing it after the drywall’s up.
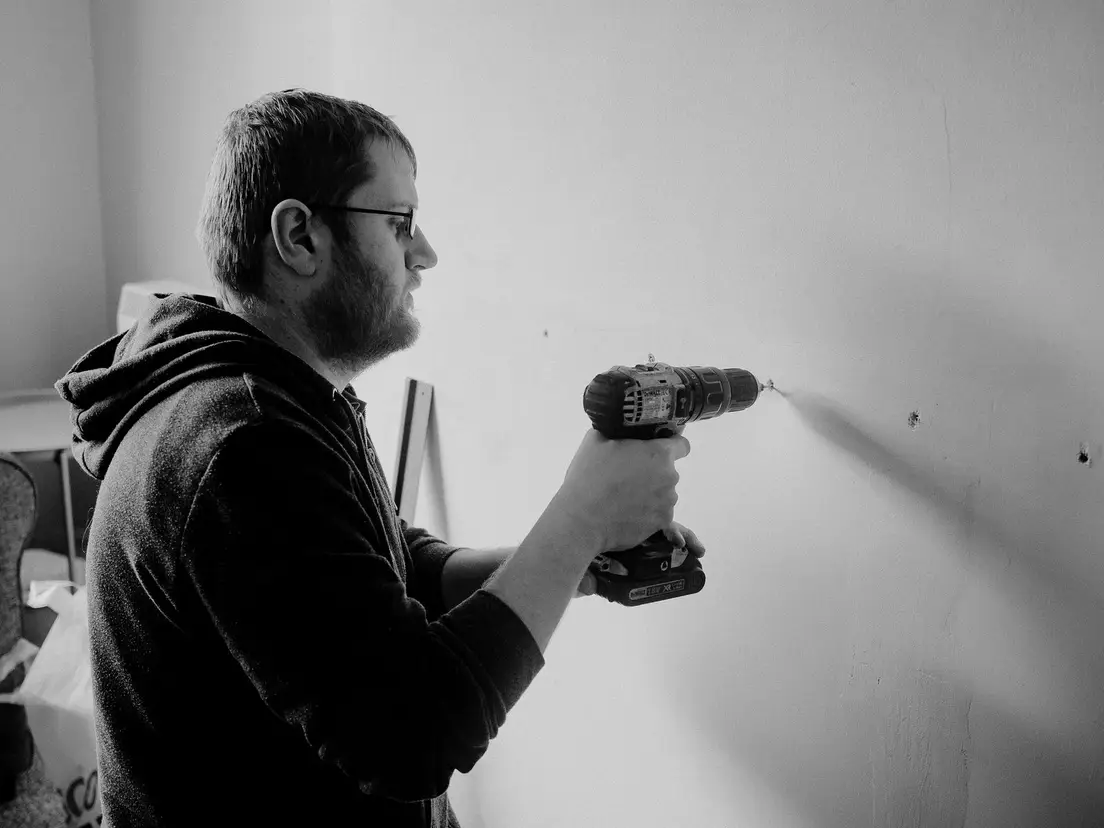
Photo by Lisa Fotios on Pexels
Frame the wall between the floor and ceiling
Cut the top and bottom plates to the wall’s length, then cut studs to the exact floor-to-ceiling height minus the combined thickness of both plates — usually about 3 inches short of the raw measurement. Lay the bottom plate on the floor and the top plate against the ceiling marks, then wedge each stud in vertically at 16-inch intervals, toe-nailing or screwing it into both plates.
A genuinely non-load-bearing partition doesn’t need to touch the ceiling joists structurally — it just needs to be wedged tight enough for stability, which is a very different, much lighter job than framing one of the existing walls that’s actually load-bearing. This isn’t traditional construction, and it doesn’t need woodworking experience beyond cutting straight lines. If a contractor or architect has told you the wall you’re replacing carries structural load, this entire section doesn’t apply; that’s a real construction project, not a weekend one.
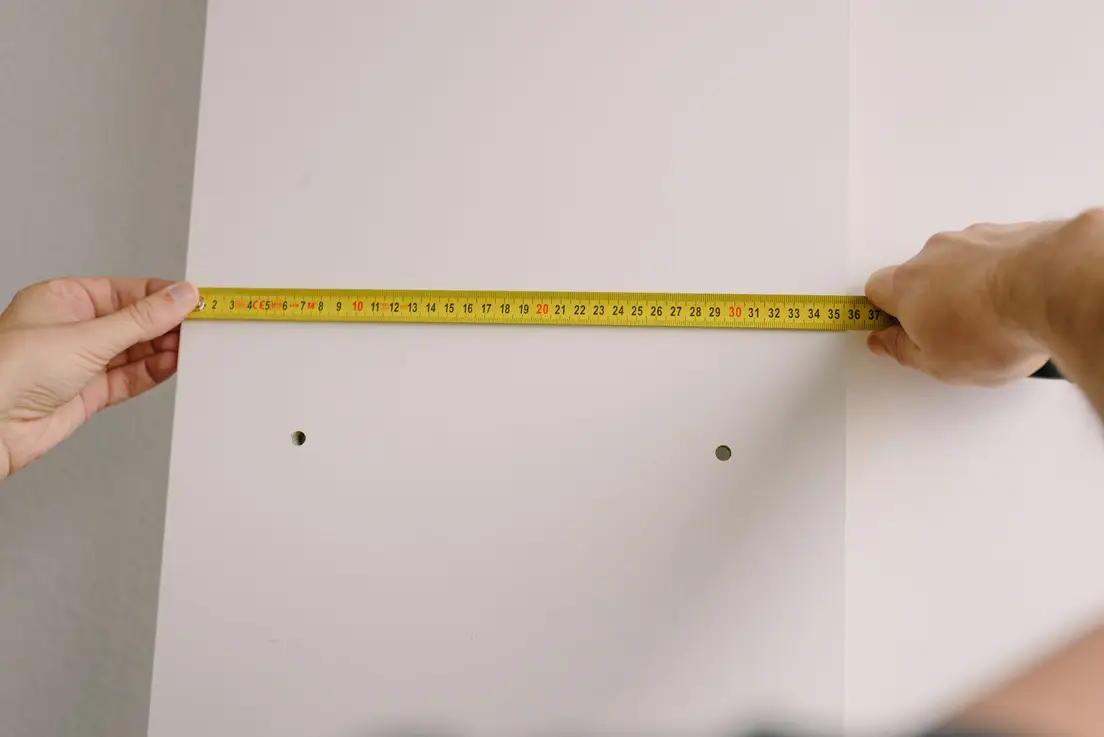
Photo by Ksenia Chernaya on Pexels
Hang and finish the drywall
Screw drywall sheets into the studs every 8 inches along each edge, staggering the seams the same way a real wall does. Tape the seams, apply two to three thin coats of joint compound, sanding lightly between coats, then prime and paint to match the room — or leave it unfinished if the wall’s coming down in a few months anyway, since bare drywall behind a bookcase is nobody’s business but yours.
This is the step that actually eats the weekend. Framing a small partition is an afternoon; taping, mudding, sanding, and painting it to look like it was always there is the part that turns a Saturday project into a Sunday project too.
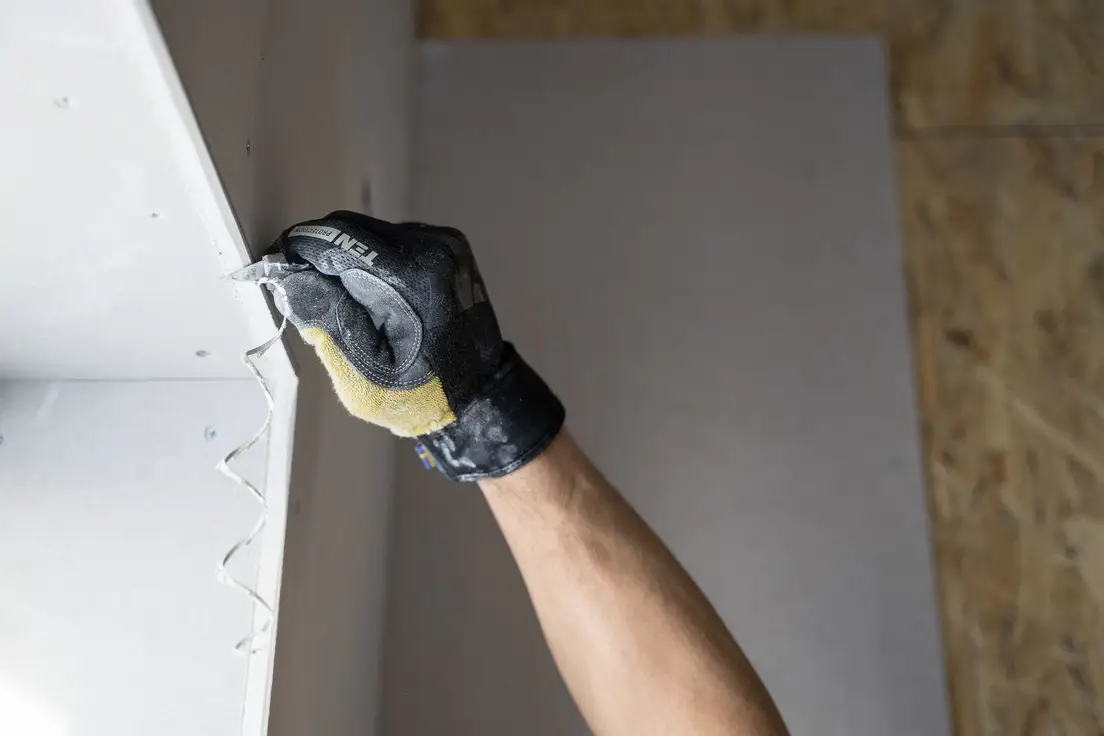
Photo by Jimmy Nilsson Masth on Pexels
Use modular walls instead of framing and drywall
A modular temporary wall uses telescoping poles that press-fit between the floor and ceiling by tension alone, with lightweight panel inserts snapped between them — no studs, no drywall, no screws into anything structural. Most kits assemble in under two hours for a standard 8–10 foot opening, and installing one gives you the flexibility permanent walls don’t: move it, resize it, or customize which panels face which room whenever the layout changes.
Renter-friendly on the box means nothing without checking the actual weight and height rating for your specific ceiling — a kit built for an 8-foot ceiling won’t pressure-fit a 9-foot one, and a panel rated for light use won’t hold a wall-mounted TV bracket later. Confirm both before you order, and don’t expect much sound insulation from a hollow panel — a framed wall with batt insulation blocks noise a lot better than any modular kit does.

Photo by cottonbro studio on Pexels
Add a door if the room needs to actually close
A home office that needs to fully shut for video calls is a different project than a bedroom that just needs visual privacy — the first genuinely needs a door insert, the second usually doesn’t. Both framed and modular walls offer a door option: a framed wall takes a standard pre-hung interior door set into the new opening, while most modular kits sell a matching door panel that press-fits the same way the plain panels do.
A door insert adds real cost and real complexity to either build — a pre-hung door and its frame alone typically runs $150–300 before installation — so it’s worth confirming the room actually needs to close, not just look divided, before adding one.
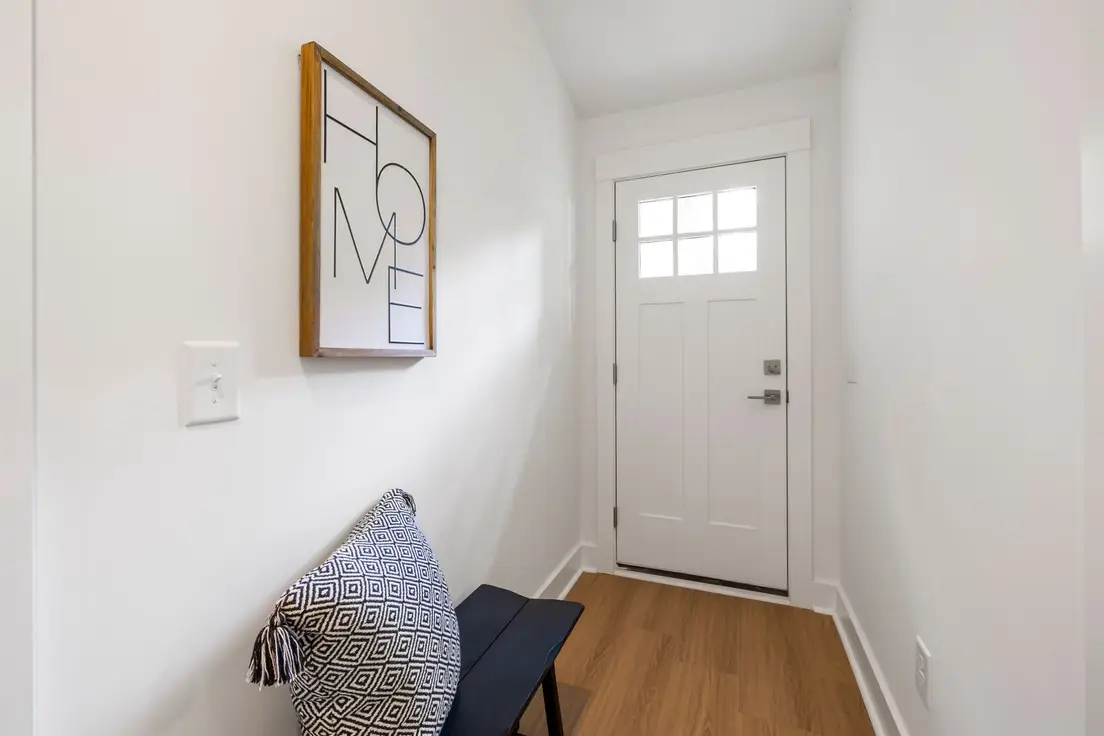
Photo by Curtis Adams on Pexels
Here’s the honest math on what a temporary wall actually costs
A basic framed drywall partition runs $150–350 in materials for a standard opening if you’re doing the labor yourself — lumber, drywall, screws, and finishing compound, no door. A pressure-fit modular kit runs $250–450 without a door insert, $500–900 with one, and needs no finishing supplies at all. Hiring a contractor to frame and finish a wall for you adds another $500–1,500 in labor on top of materials, which is usually the point where a modular kit becomes the cheaper option even before you count your own weekend as worth something.
None of these numbers include patching the ceiling and floor marks when the wall eventually comes down — budget a small tube of spackle and a can of touch-up paint for that day, whichever build you chose.

Photo by Kaboompics.com on Pexels
Check your lease, HOA, and local building codes first
A non-load-bearing partition that skips plumbing, electrical, and structural framing usually doesn’t trigger a permit, but “usually” is doing a lot of work in that sentence — local building departments vary enough that a five-minute call before you buy materials beats finding out after. Renters have a second, more immediate check: most leases restrict structural changes regardless of what the permit rules say, and a temporary wall braced against the ceiling is exactly the kind of gray area worth a two-line email first.
A privacy structure we put up once got a very polite letter about it the following week — the rule turned out to cover more than we’d assumed, and nobody had checked before buying materials. The version that replaced it, built to count as furniture instead of a fixed structure, passed with zero complaints and looked nearly identical from across the room. Same blind spot trips people up outdoors, where permit lines get crossed just as easily — see our free standing patio covers guide for the same building-department check on a bigger structure.

Photo by Matthias Zomer on Pexels
Take the wall down cleanly when you move
A modular kit disassembles in under an hour: release the pressure-fit poles, unstack the panels, and there’s nothing to patch because nothing touched the structure. A framed wall takes longer — pull the drywall, remove the studs, then patch and paint the strip on the ceiling and floor where the top and bottom plates sat, usually a small enough repair that a landlord walk-through won’t blink at it.
Plan the teardown before move-out week, not during it. A wall that took one Saturday to build can take a full evening to remove properly if the drywall’s screwed in more securely than it needed to be — which, in our experience, it always is.
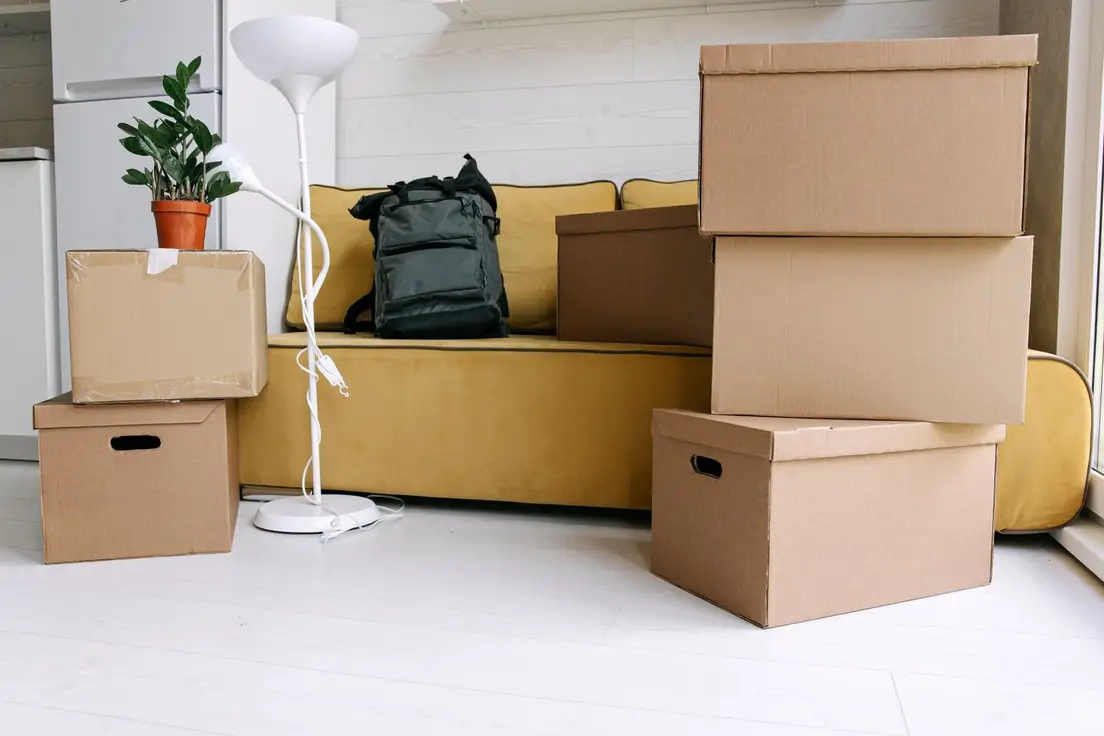
Start with the modular kit if there’s any chance you’re moving within a couple of years — it’s reversible, it’s faster, and it’s the option that doesn’t turn a Sunday into a drywall-dust cleanup. Save the framed version for the place you actually own.
Frequently asked questions
What is the cheapest way to build a temporary wall?
A pressure-fit modular kit is usually cheapest and fastest, at $250–450 for a basic panel without a door, with no framing lumber or drywall finishing involved. A framed stud-and-drywall wall costs less in raw materials for a small opening but adds paint, tape, and mud time a kit skips entirely.
How much does it cost to build a temporary wall?
Expect $150–350 in materials for a basic framed drywall partition in a standard 8–10 foot opening, done yourself. A pressure-fit modular kit runs $250–450 without a door insert, $500–900 with one. Hiring it out for a framed wall adds $500–1,500 in labor on top of materials.
Can I build a DIY temporary wall?
Yes — both the framed version and the modular-kit version are realistic weekend DIY projects for two people with basic tools. The framed wall needs a stud finder, a saw, and a drill; the modular kit needs almost nothing beyond a tape measure and the hardware it ships with.
Do temporary walls require permits or need to follow building codes?
A non-load-bearing partition that doesn't touch plumbing, electrical, or structural framing usually doesn't need a permit, but local codes vary enough that a quick call to your building department is worth it before you buy materials — and load-bearing walls are a different, permit-required project entirely. Renters should check their lease first — most restrict this regardless of permit rules.
How do you disassemble or remove a temporary wall?
A modular kit comes down in under an hour — release the pressure-fit poles, unstack the panels, patch nothing, since none of it touched the structure. A framed wall takes longer: remove the drywall, pull the studs, then patch and paint the small marks where the top and bottom plates met the ceiling and floor.