
Backyard & Patio
Pea Gravel Patio Ideas on a Budget
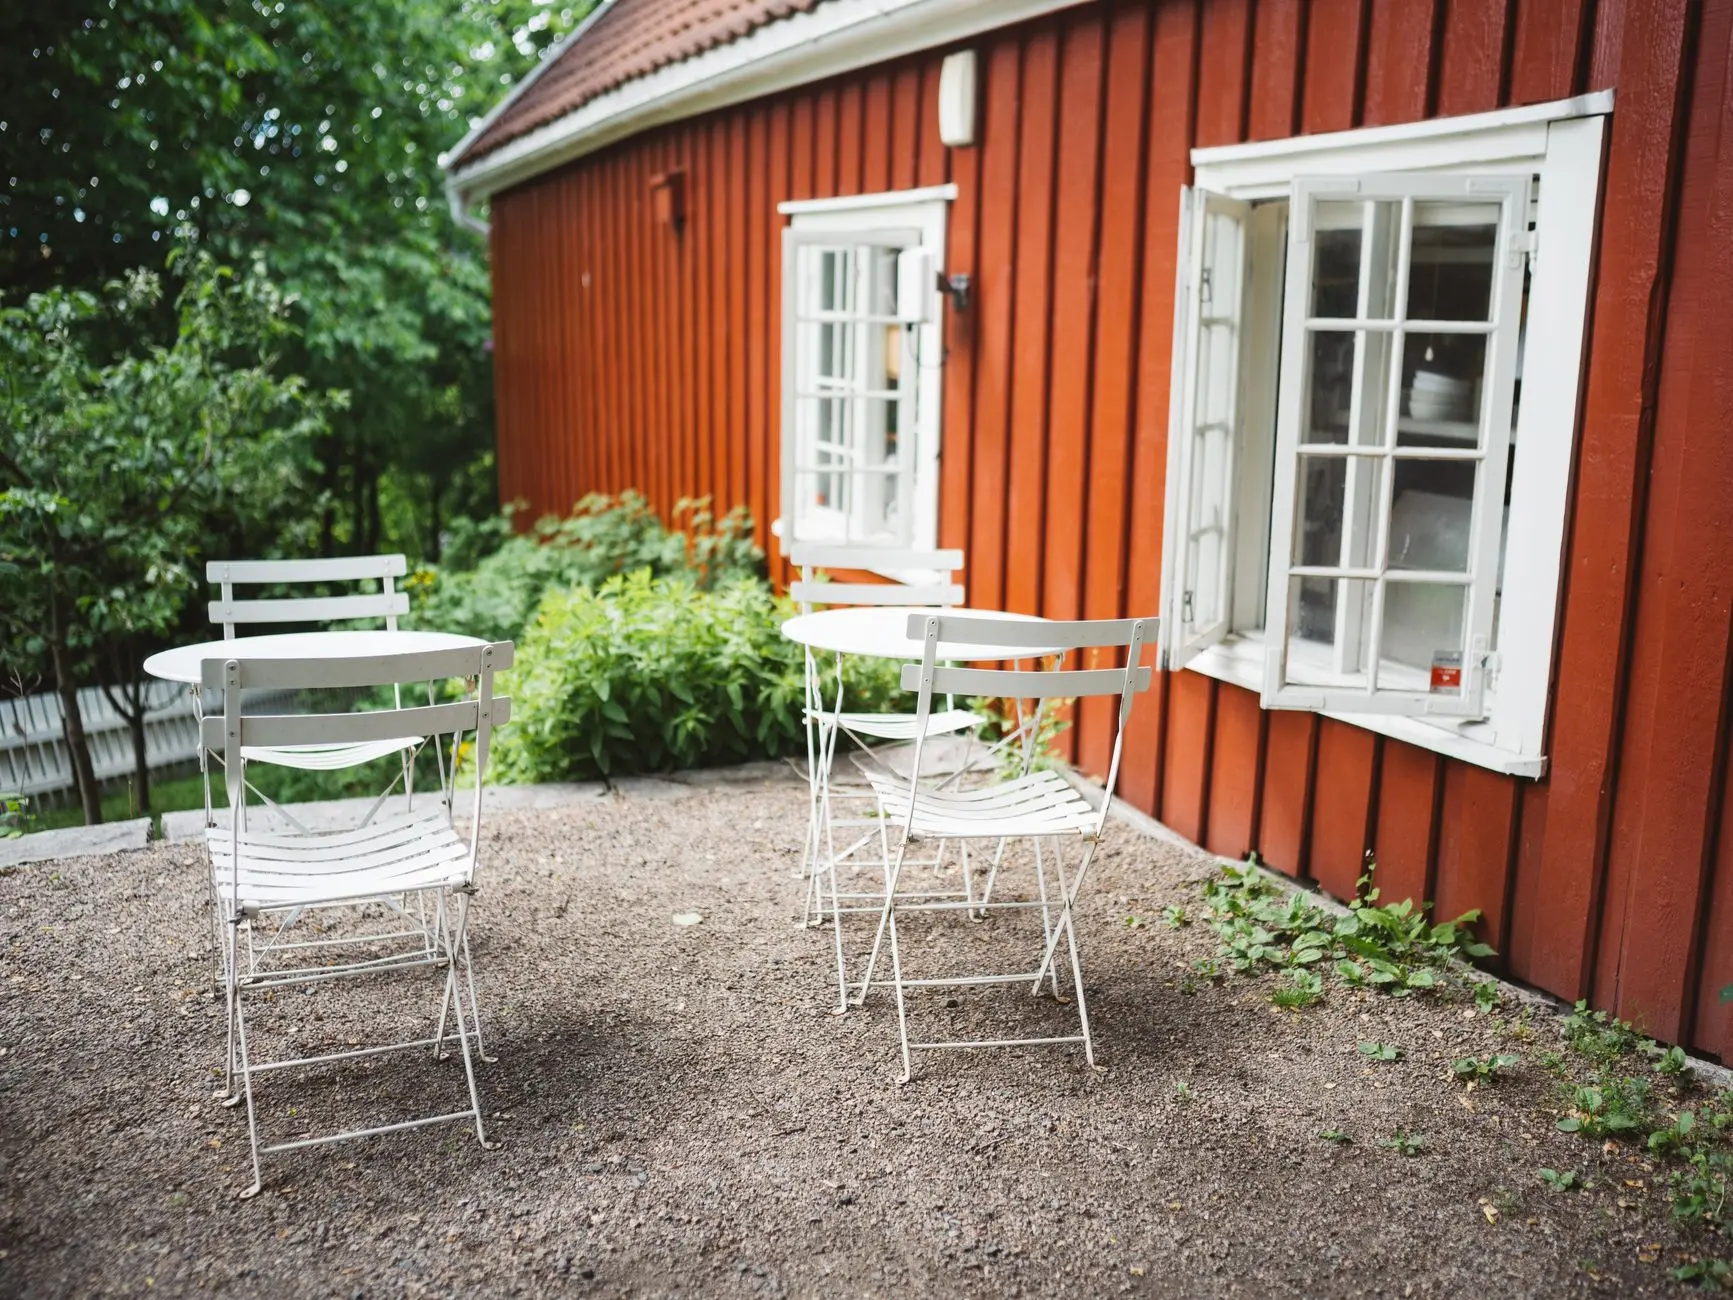
Pea gravel patio ideas on a budget all solve the same problem: a bare rectangle of dirt or dead grass, and a real floor for less than any other hardscape material gets you. A gravel patio runs a fraction of poured concrete or pavers per square foot, needs no wet saw and no multi-day cure time, and a motivated person can lay one in a weekend. The tradeoffs are real too — loose stone migrates, furniture legs sink — and the honest math section below covers exactly what to budget so the “cheap” material doesn’t cost more than it should.
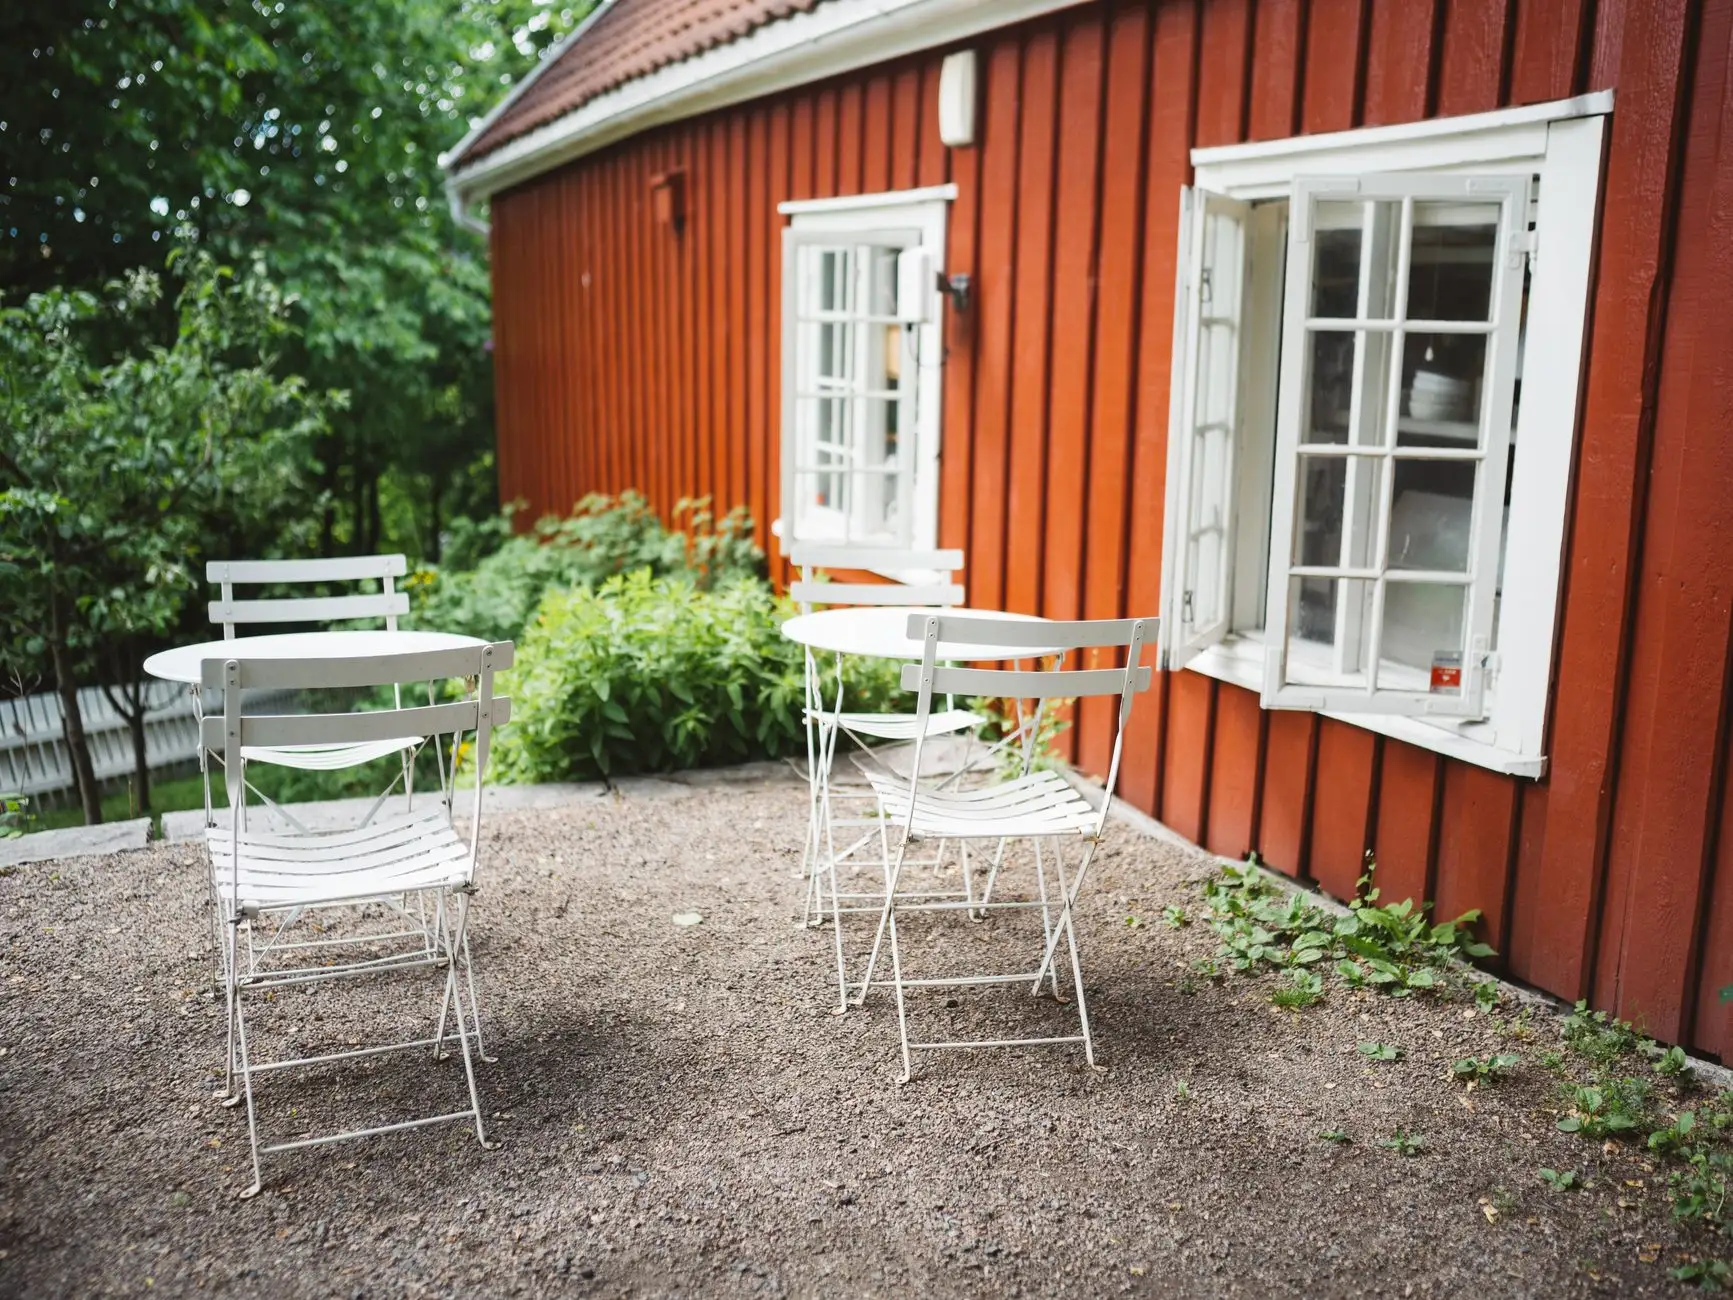
Lay pea gravel over bare dirt or dead grass for the cheapest real patio
Pea gravel is the cheapest way to turn a patch of dirt, mud, or dying lawn into an actual outdoor floor — cheaper per square foot than poured concrete, pavers, or a wood deck, and with no cure time or nailing schedule to work around. Strip the sod or dead grass first; laying gravel over living turf just grows grass up through the stones by June.
We once ordered gravel for what we measured as an 8×10 patio off a phone photo instead of the actual footprint — it was closer to 9×12 once the planter bed at the edge got accounted for, and the extra half-yard delivery ran $35 over budget and pushed the finish date back a week. Measure the ground, not the picture of the ground.
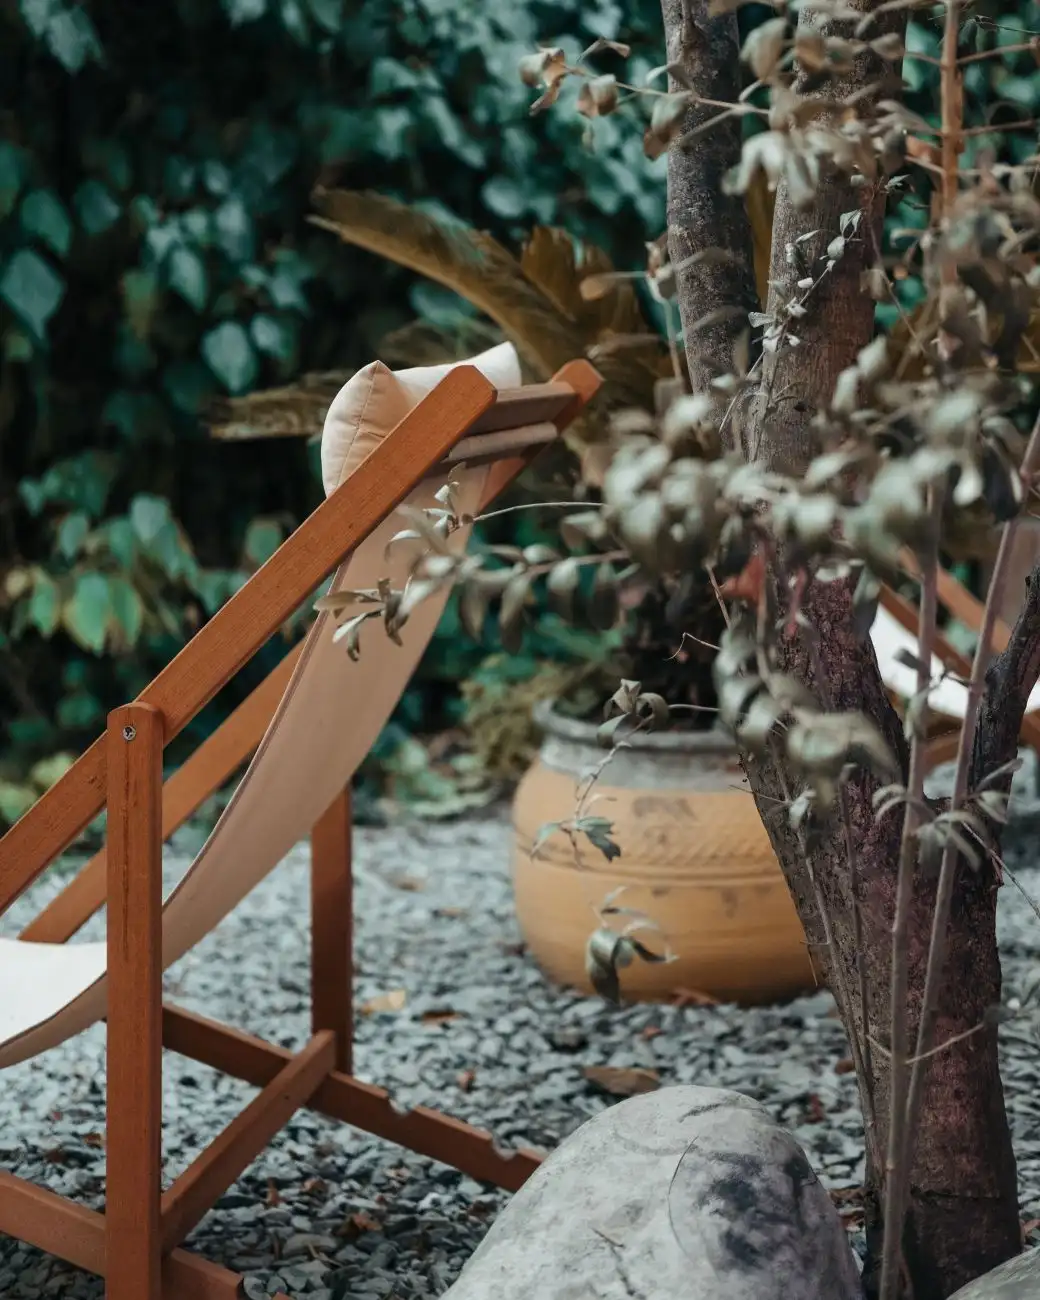
Photo by Oguz Kagan Cevik on Pexels
Compact a gravel base first, and don’t trust landscape fabric to do more than buy time
Dig out 4–6 inches of soil, fill with 2–3 inches of crushed stone, and compact it with a hand tamper or rented plate compactor before a single bag of pea gravel goes down. Skip the base and the patio sinks into ruts wherever people actually walk — the pea gravel on top was never the structural layer, the compacted stone underneath is.
Landscape fabric under the gravel is worth laying, but don’t buy the “permanent weed barrier” promise on the roll. Washington State University Extension’s review of landscape fabric found it suppresses weeds for a season or two at best in a permanent landscape, not forever — organic debris builds up on top, seeds root into that layer, and the fabric ends up doing the opposite of its job once weeds are rooted through it. Budget for pulling the occasional weed by hand instead of expecting zero weed control.
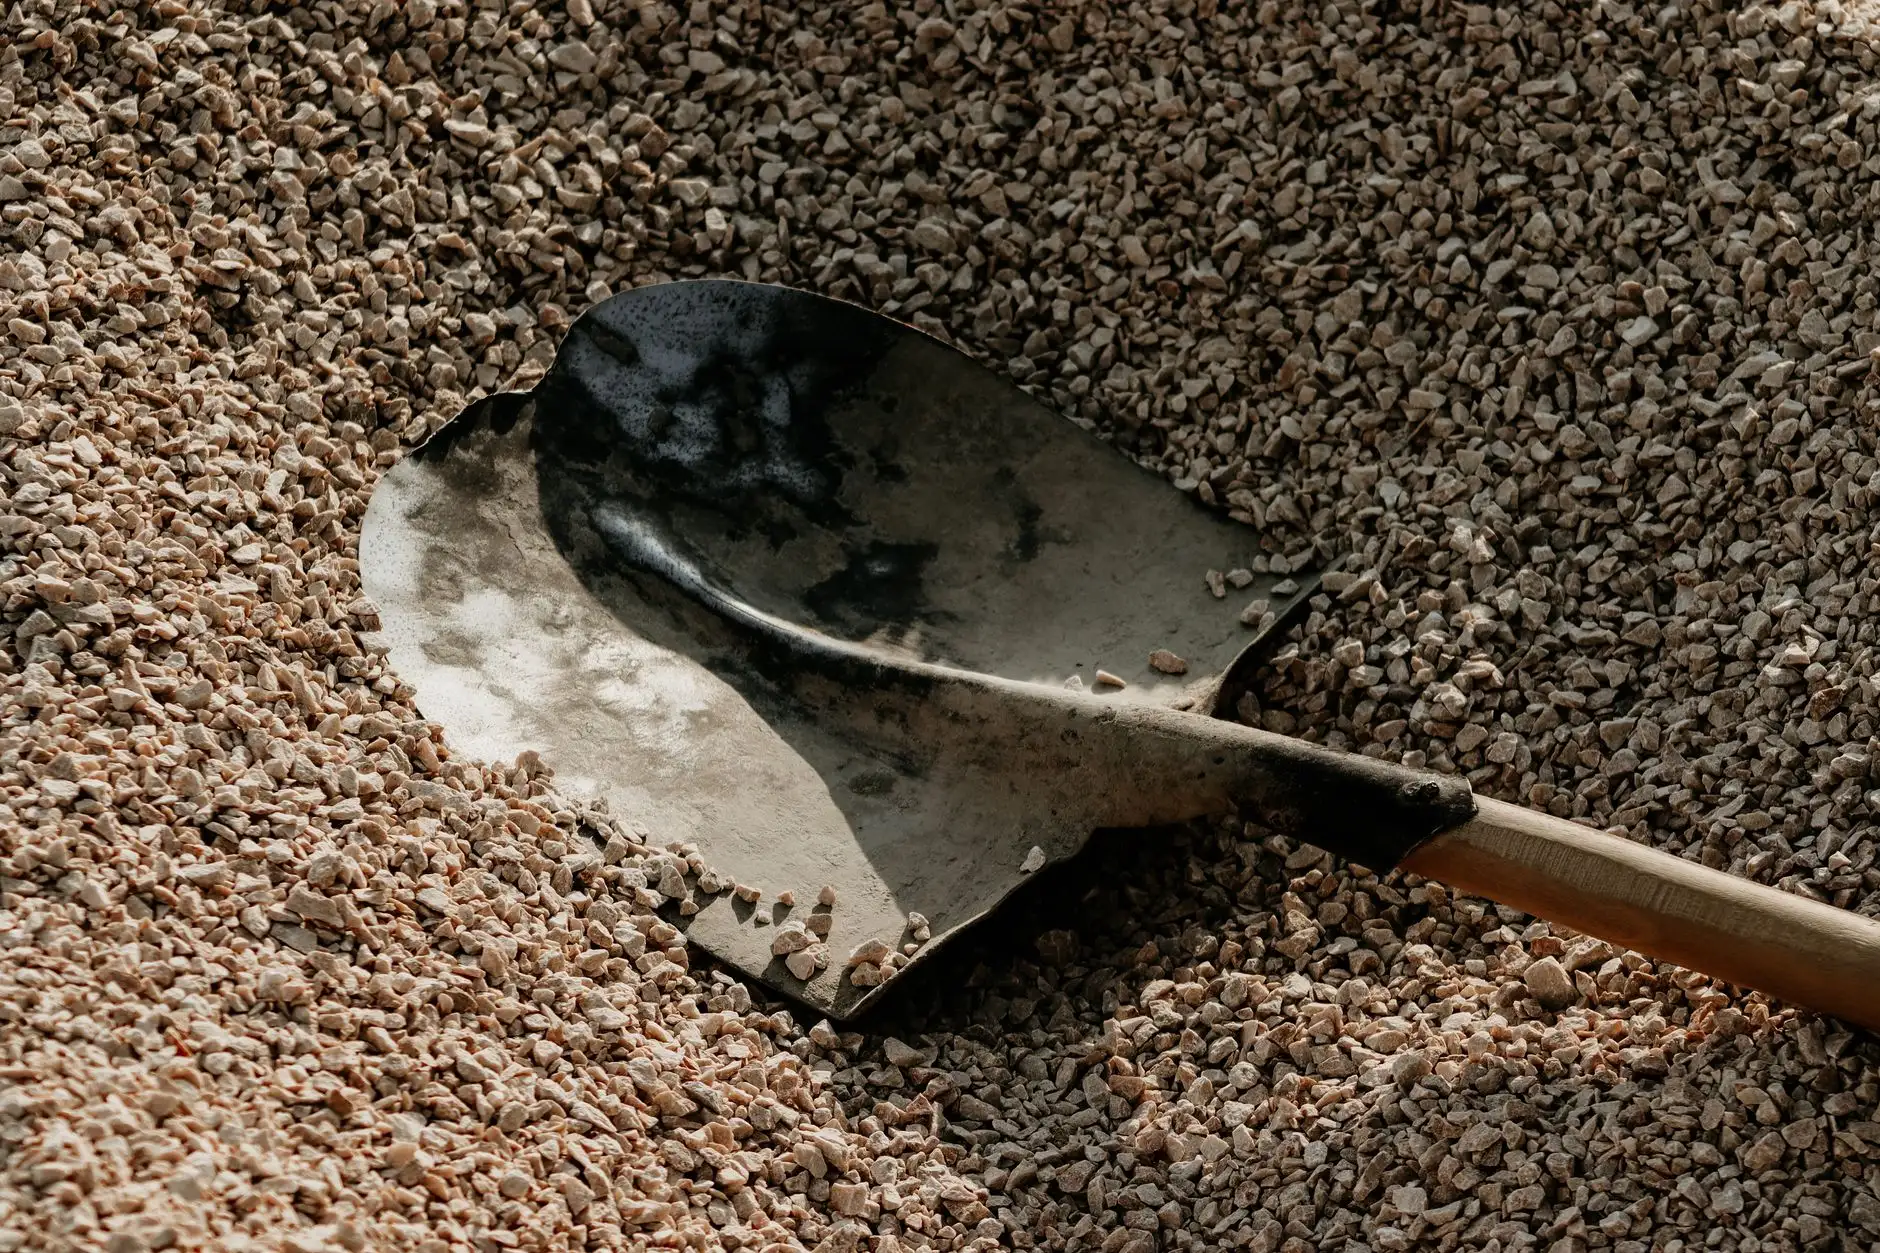
Photo by Dr Photographer on Pexels
Set a steel, wood, or staked-rope border so the gravel stays off the lawn
A gravel patio needs a physical edge, not just a mental one — without a border, pea gravel migrates into the grass within a season, gets walked into the house, and eventually meets a lawn mower blade the hard way. Steel or aluminum edging holds a clean line and disappears visually; pressure-treated 2×4s on edge are the cheapest DIY option and read more rustic.
If a hard material feels too permanent for a rental or a yard you’re still deciding on, staked rope or cord along wood posts works as a soft, renter-friendly boundary along the outdoor space that’s just as effective at the one job that matters: keeping gravel on its side of the line. (Whatever you pick, set it before the gravel goes down — retrofitting an edge around an existing gravel bed means shoveling the whole thing twice.)
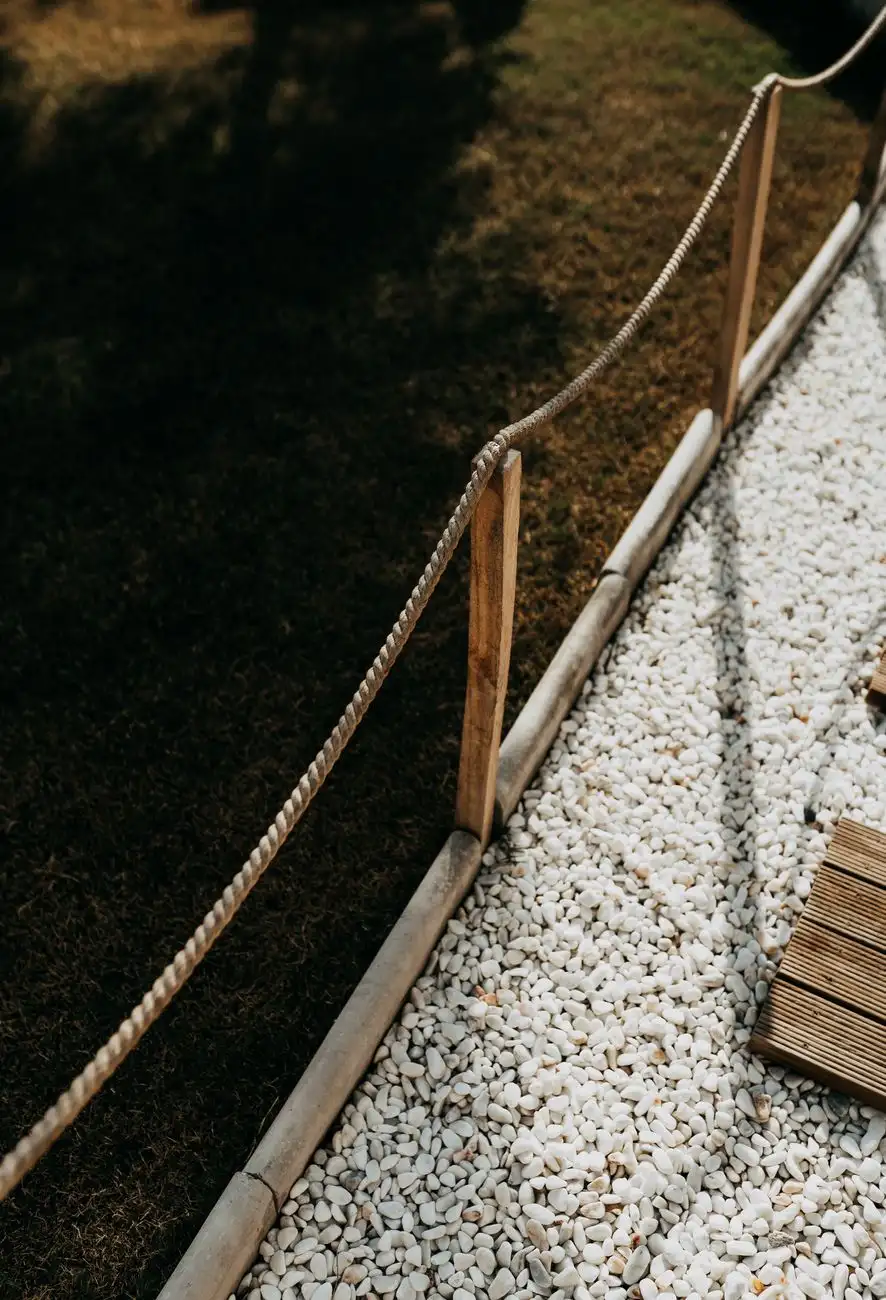
Photo by Burak Evlivan on Pexels
Choose the right gravel size and color for the space you’re actually building
Pea gravel — small, rounded, 3/8-inch stones — is the softest option underfoot and the easiest to rake level, which is why it’s the default for seating areas. Angular crushed stone locks together and resists shifting better on an uneven grade, which makes it the better choice for a path that sees heavy foot traffic, but it’s harder on bare feet and doesn’t rake as smooth.
Color matters more than most budget guides admit: warm tan and buff tones read rustic and hide dust and pollen better than gray, while a cooler gray-and-white mix reads more modern and shows every leaf that lands on it. Grab a small bag of each before ordering a full yard — screen color at a hardware store under fluorescent light looks nothing like the same stone in your actual backyard at 5pm.
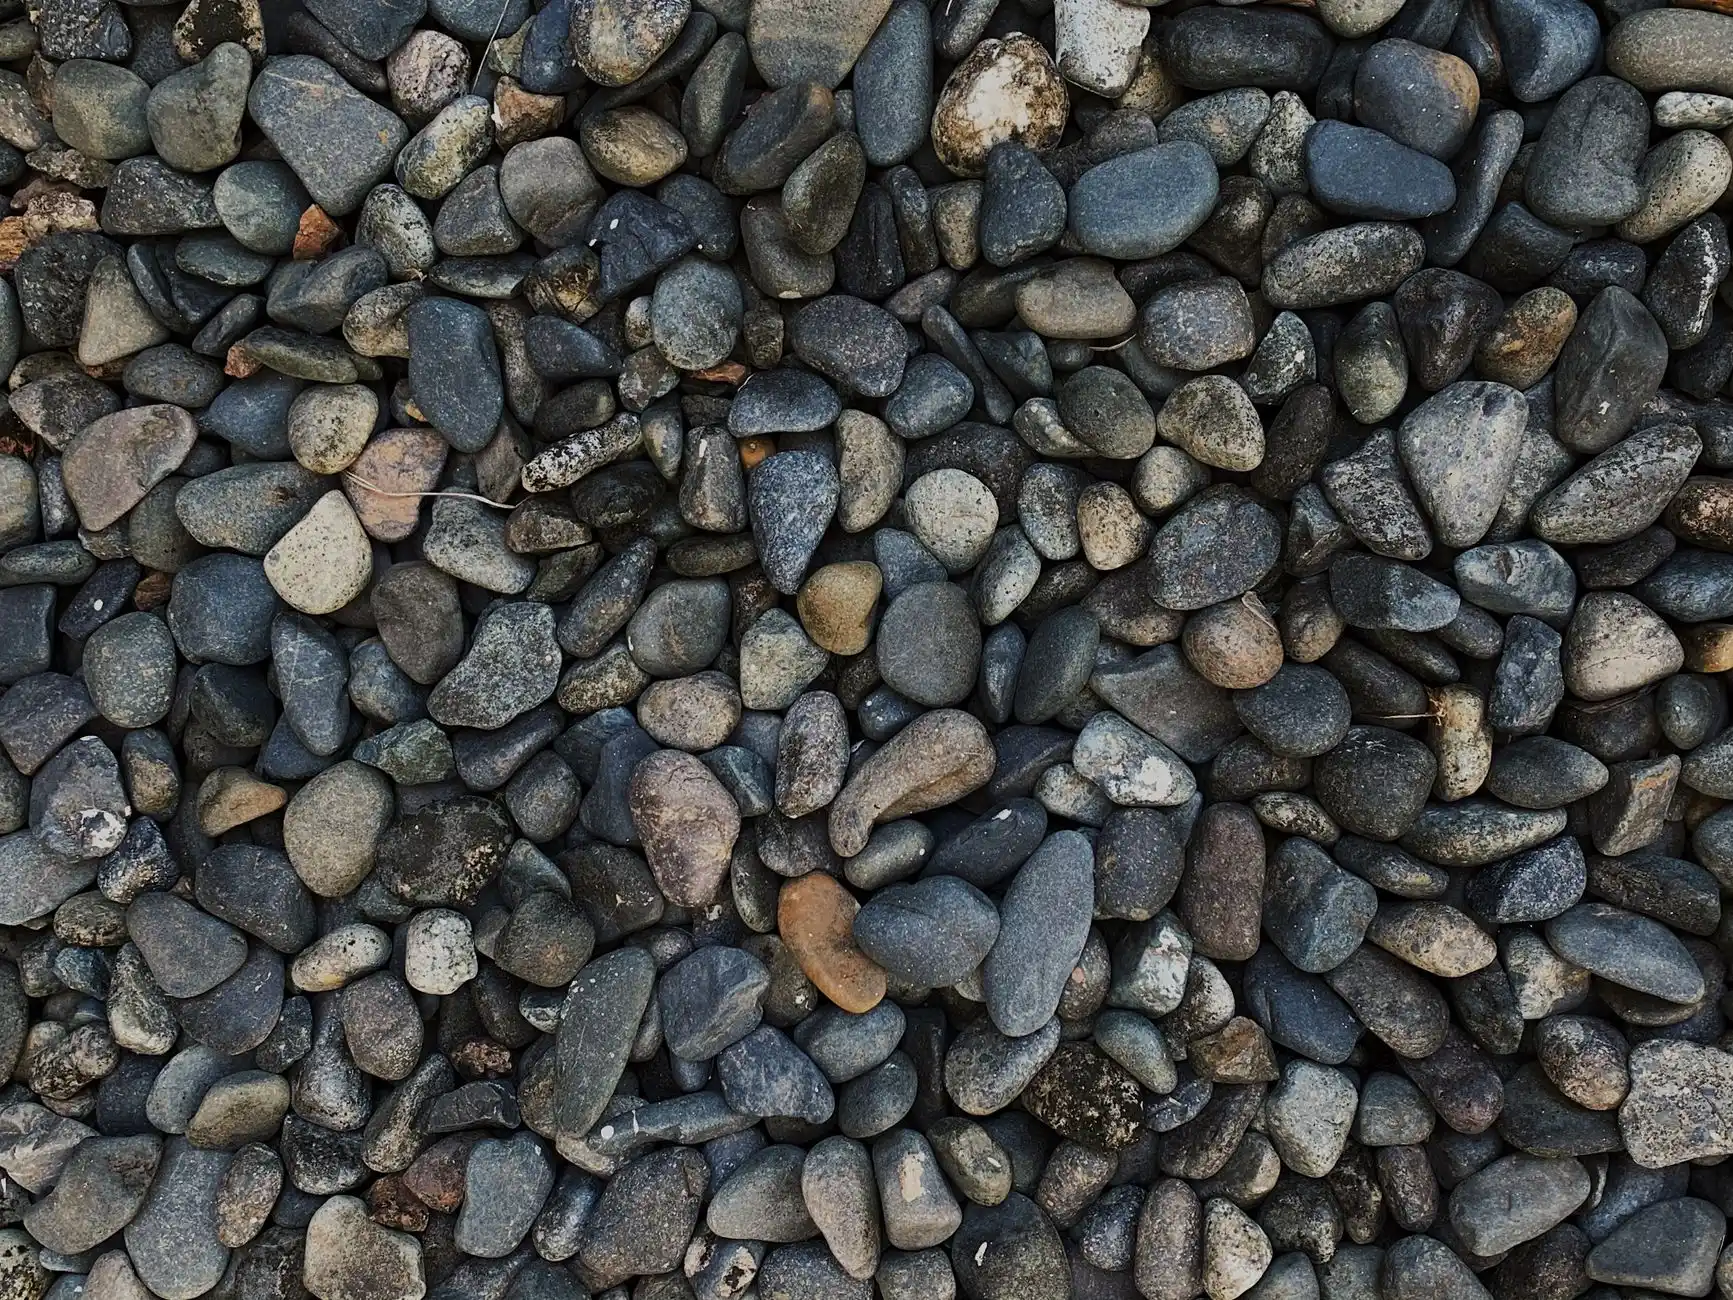
Photo by Anna Tarazevich on Pexels
Mix in stepping stones for a defined walking surface across the gravel
Loose gravel alone works fine for a stationary seating area, but anywhere people actually walk across it repeatedly — a route to the grill, a path to a side gate — benefits from stepping stones or pavers set flush with the gravel’s surface. It solves the “ankle rolls in loose stone” problem without paving the whole footprint, which is the whole appeal of pairing gravel with pavers in the first place (our patio ideas with pavers guide covers full paver layouts if you want more structure than this).
Space stones to match a natural stride, about 24 inches center to center, and set each one on its own compacted pad so it doesn’t rock or sit at an uneven angle underfoot. A stepping stone that wobbles every time someone steps on it is worse than no stepping stone at all — the reader either commits to setting them properly or skips this idea entirely.
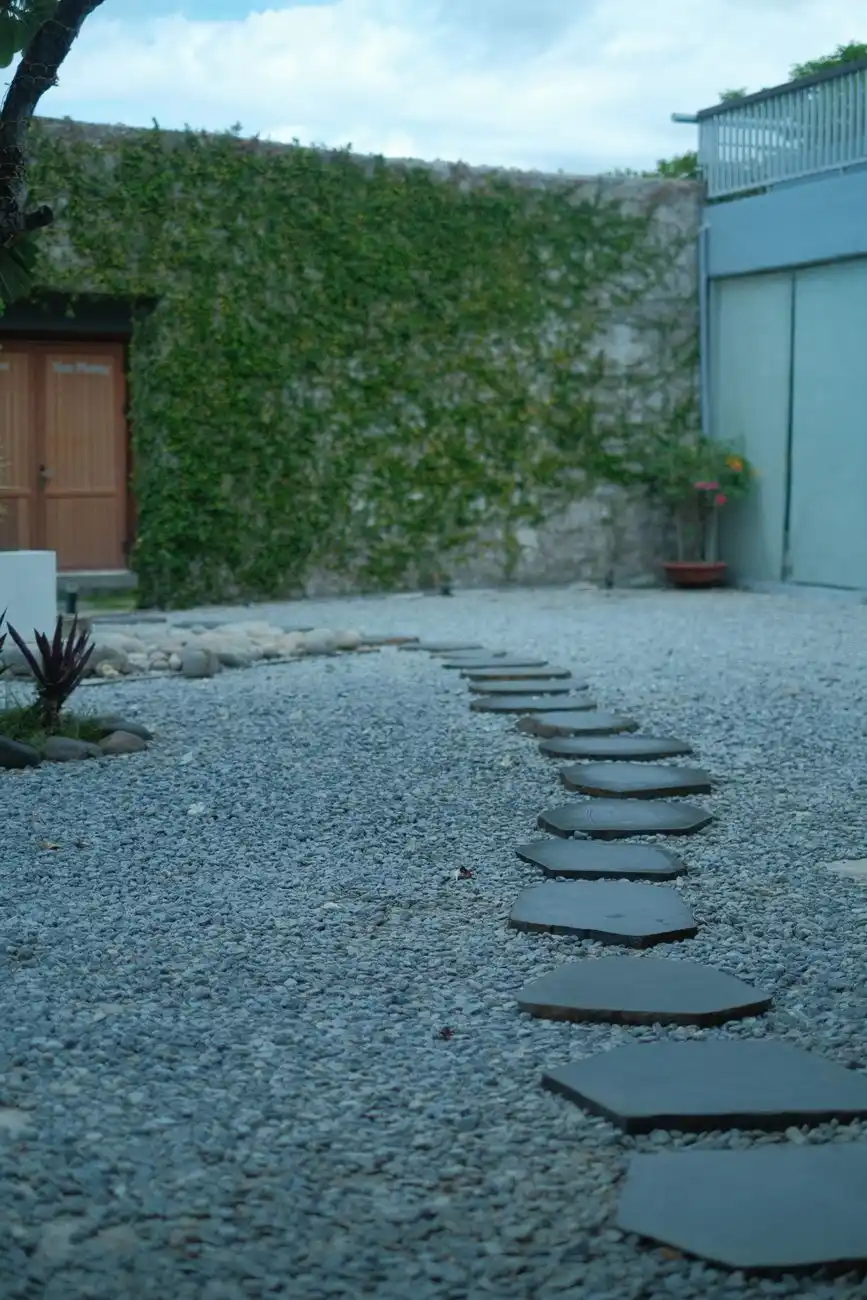
Photo by Pew Nguyen on Pexels
Build a small gravel patio around a fire pit for the highest use-per-dollar
A gravel base is the safest and cheapest surface to put directly under and around a fire pit — it doesn’t scorch, crack, or stain the way a wood deck or a light-colored paver does, and stray embers land on stone instead of something flammable. A 10×10 gravel pad, a steel fire bowl, and two chairs is a complete outdoor room, not a scaled-down version of a bigger patio.
Keep at least 3 feet of clearance between the fire pit’s edge and any furniture, fence, or structure — check the fire pit’s own manual for its specific clearance number, since bowl size and heat output vary and moisture in the surrounding soil changes how fast stone heats up. This is also the one idea on the list our backyard ideas with fire pit guide covers in far more depth if a fire pit is the actual starting point for your yard, not an add-on to a gravel patio.
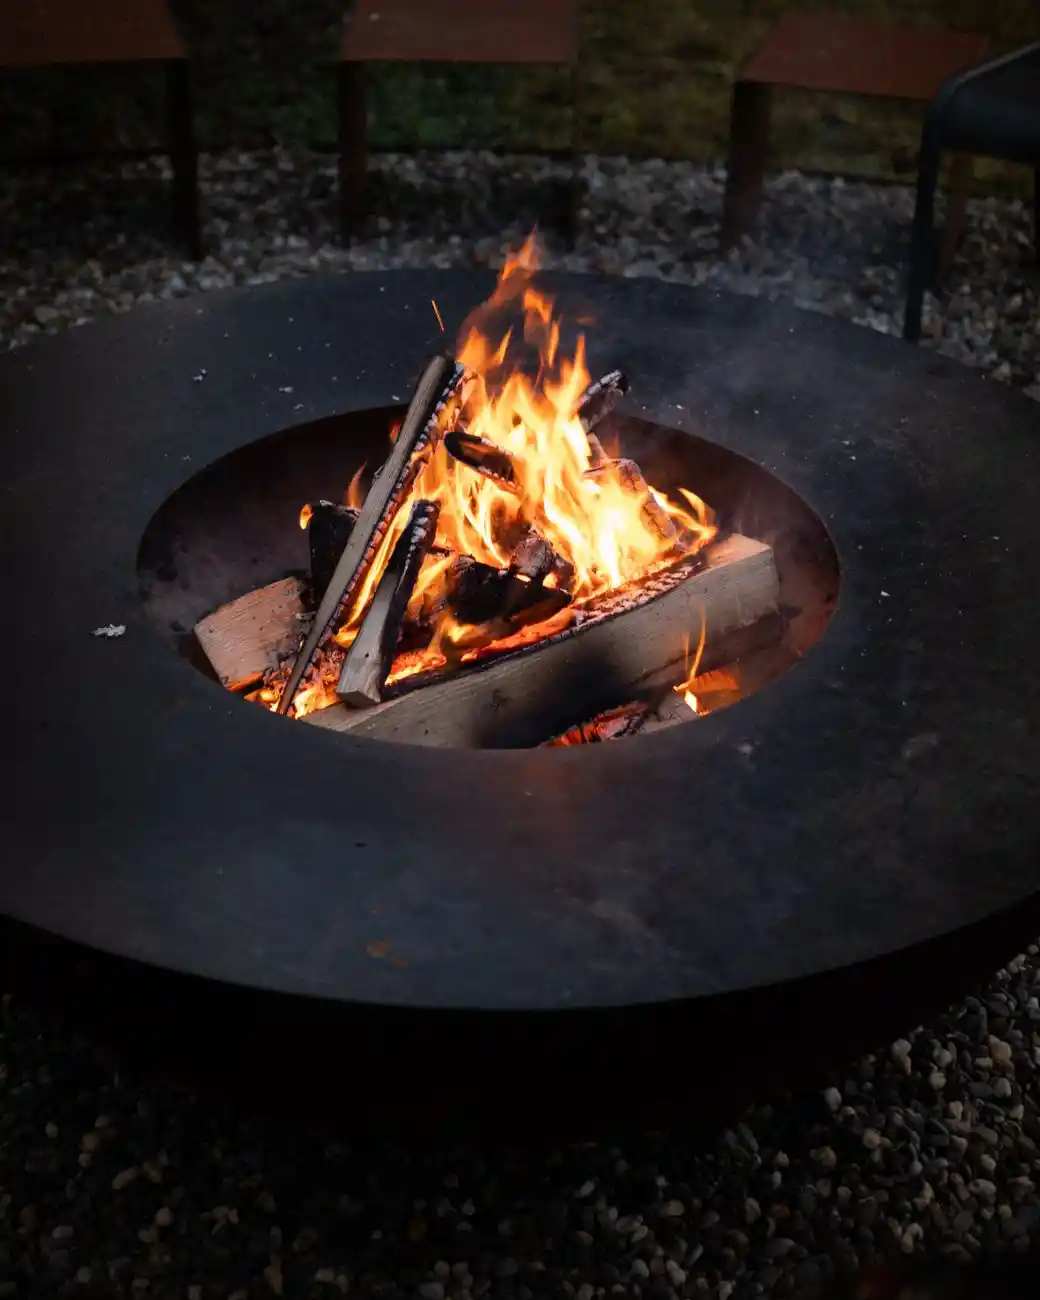
Photo by River Augustin on Pexels
Add a low retaining wall where the yard slopes instead of fighting gravity
A sloped yard doesn’t rule out a gravel patio, but loose gravel on a slope migrates downhill every time it rains, ending up as a stone drift at the bottom of the yard instead of an even patio. A low retaining wall on the downhill side — even a single course of block, 8–12 inches tall — holds a level, compacted bed in place instead of letting the slope win.
Keep a self-built wall under about 3 feet; taller than that needs engineered drainage behind it, which is the point where this stops being a weekend project and starts being a permit conversation. We’ll say it plainly: past 3 feet, hire it out. The wall failing two years in costs more than the contractor would have.
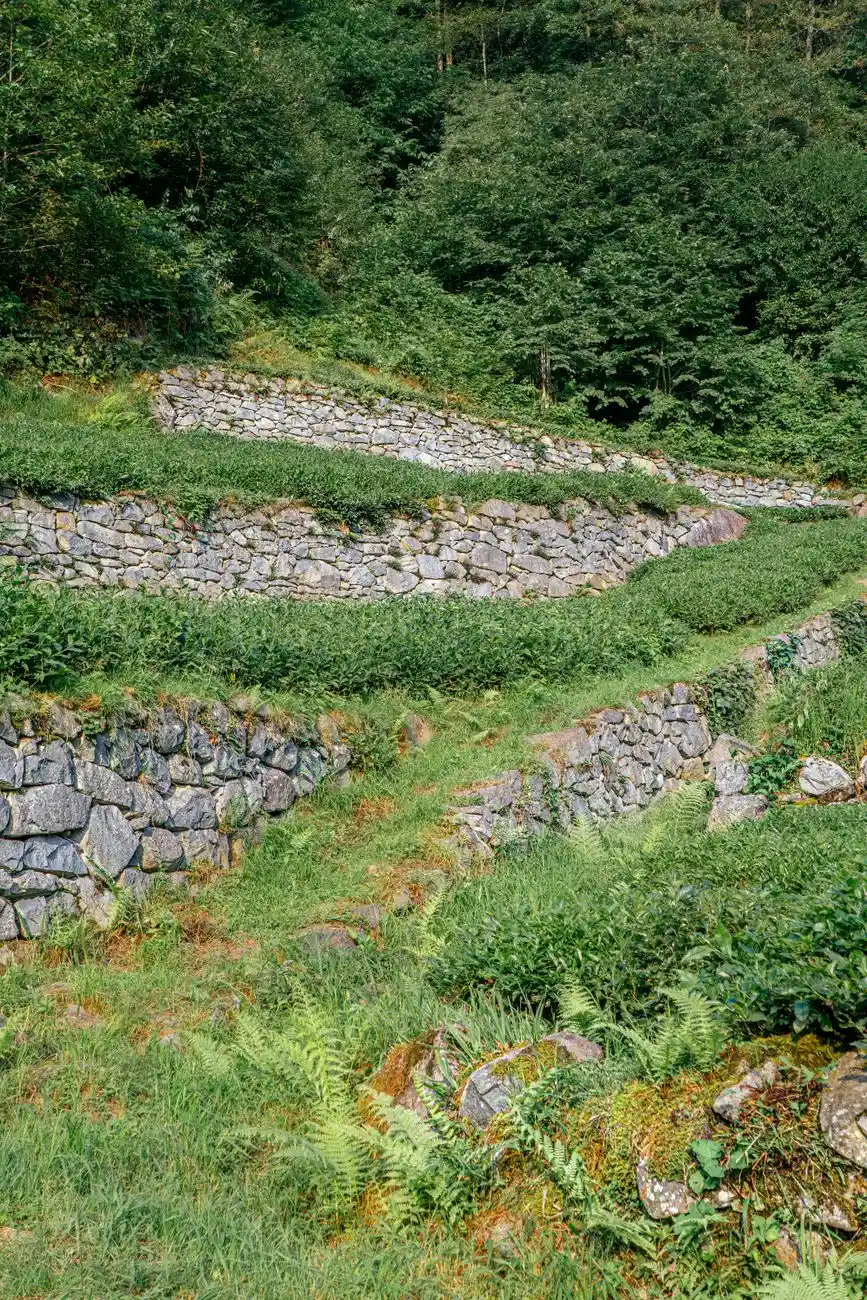
Photo by Eren Arıcı on Pexels
Run a gravel path from the patio into the rest of the yard
A patio that just stops at its own edge reads unfinished, the outdoor equivalent of a hallway with no door at the end. Continuing the same gravel as a narrower path — 2–3 feet wide instead of the patio’s full width — out to a shed, a garden bed, or a side gate ties the whole yard together using material you already bought in bulk.
It’s also the cheapest yard-wide drainage upgrade available: gravel is naturally permeable, so rain soaks straight through instead of sheeting off toward the foundation the way a solid path would. The EPA’s guidance on permeable surfaces backs up the core benefit — less runoff, less standing water, less strain on a yard that already struggles to drain after a storm.
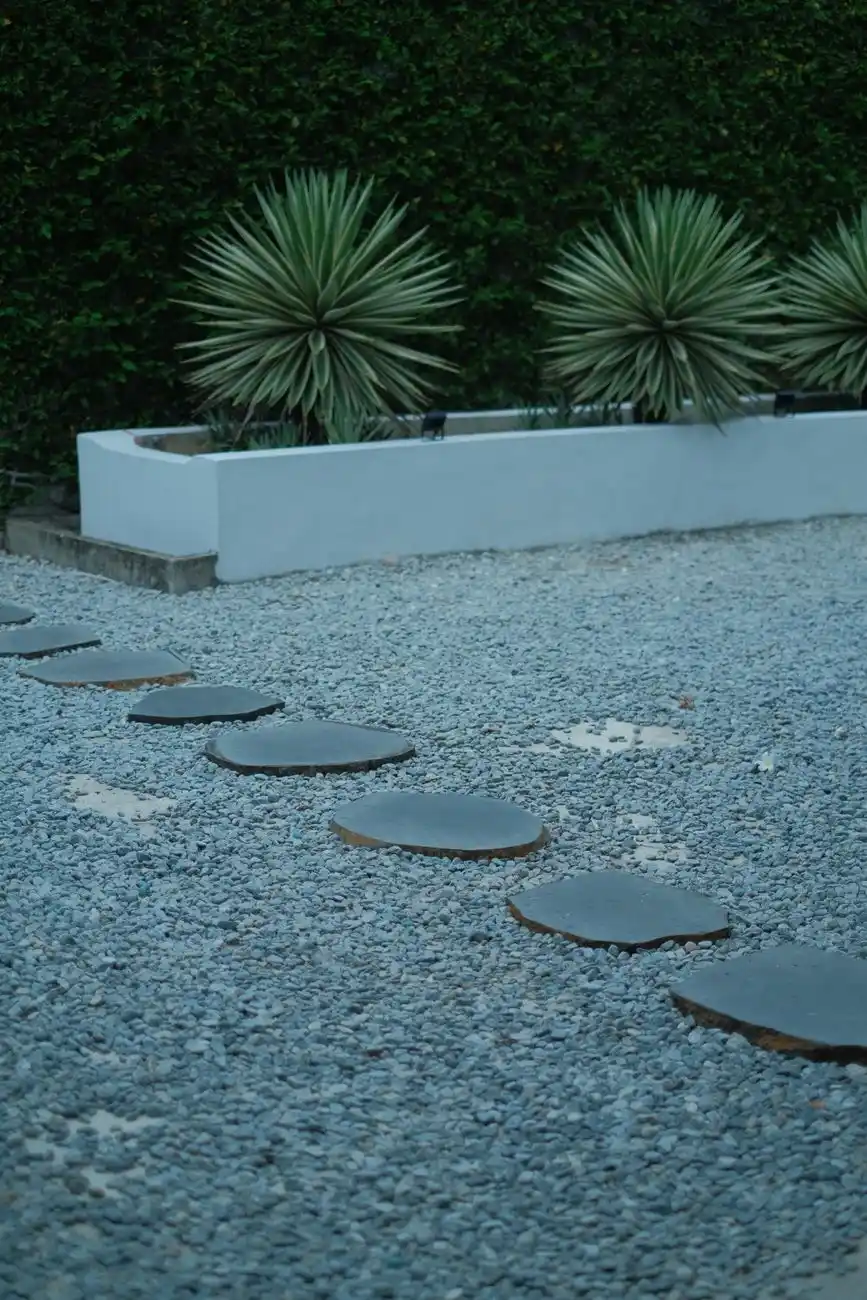
Photo by Pew Nguyen on Pexels
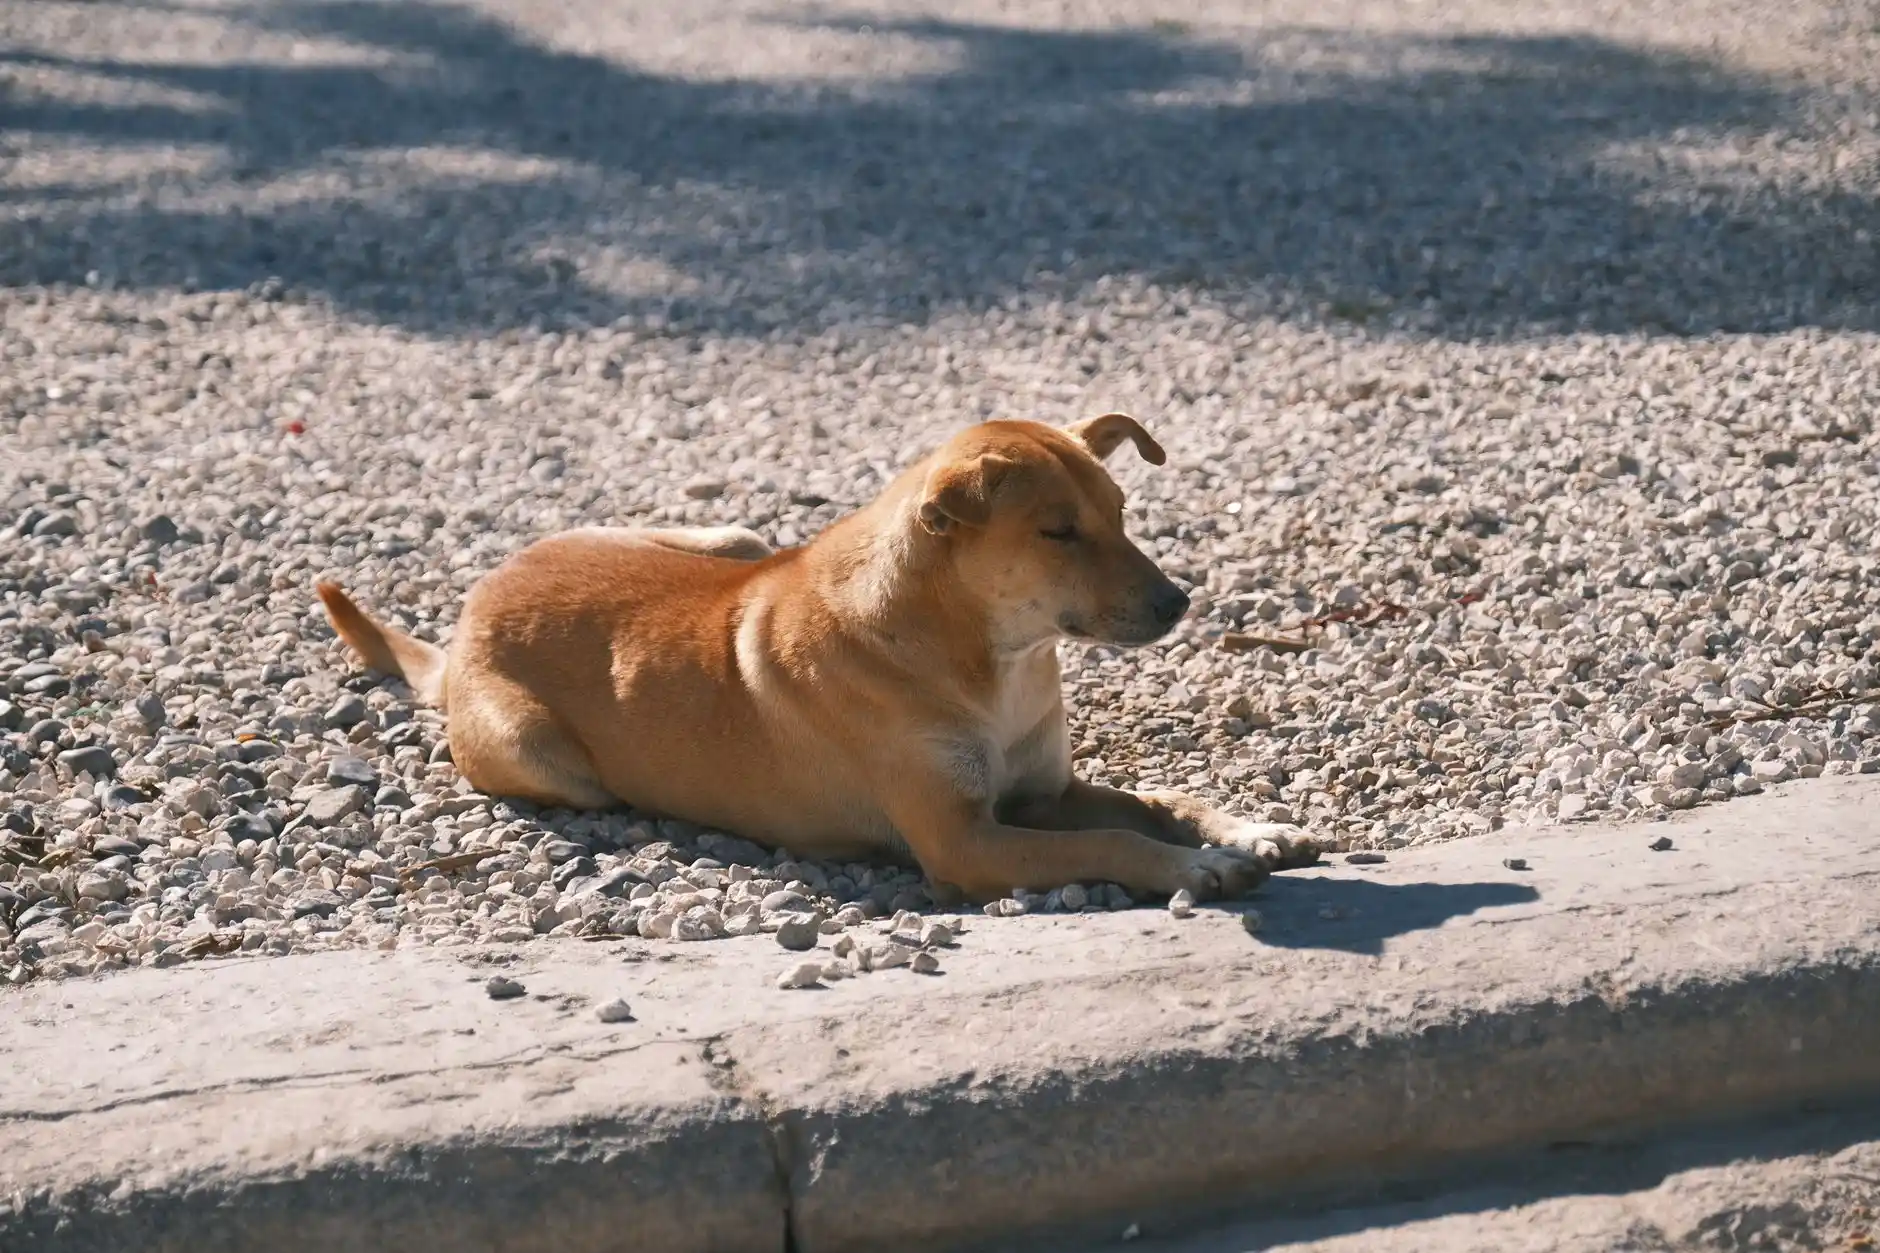
Keep it dog-friendly: pea gravel beats mud, but check the paws first
Pea gravel solves the single biggest complaint dog owners have about a grass yard — no more mud tracked across the kitchen floor after every rain. Its smooth, rounded shape (as opposed to sharp crushed stone) is also genuinely more comfortable for paws to walk and lie on, which is why it shows up in dog run and kennel flooring, not just patios.
Rinse gravel occasionally if a dog uses the space daily — waste breaks down slower on stone than on soil, and it needs an active hose-down instead of just decomposing on its own. Skip pea gravel entirely for a dog that eats rocks; that’s a vet-bill conversation, not a landscaping one.
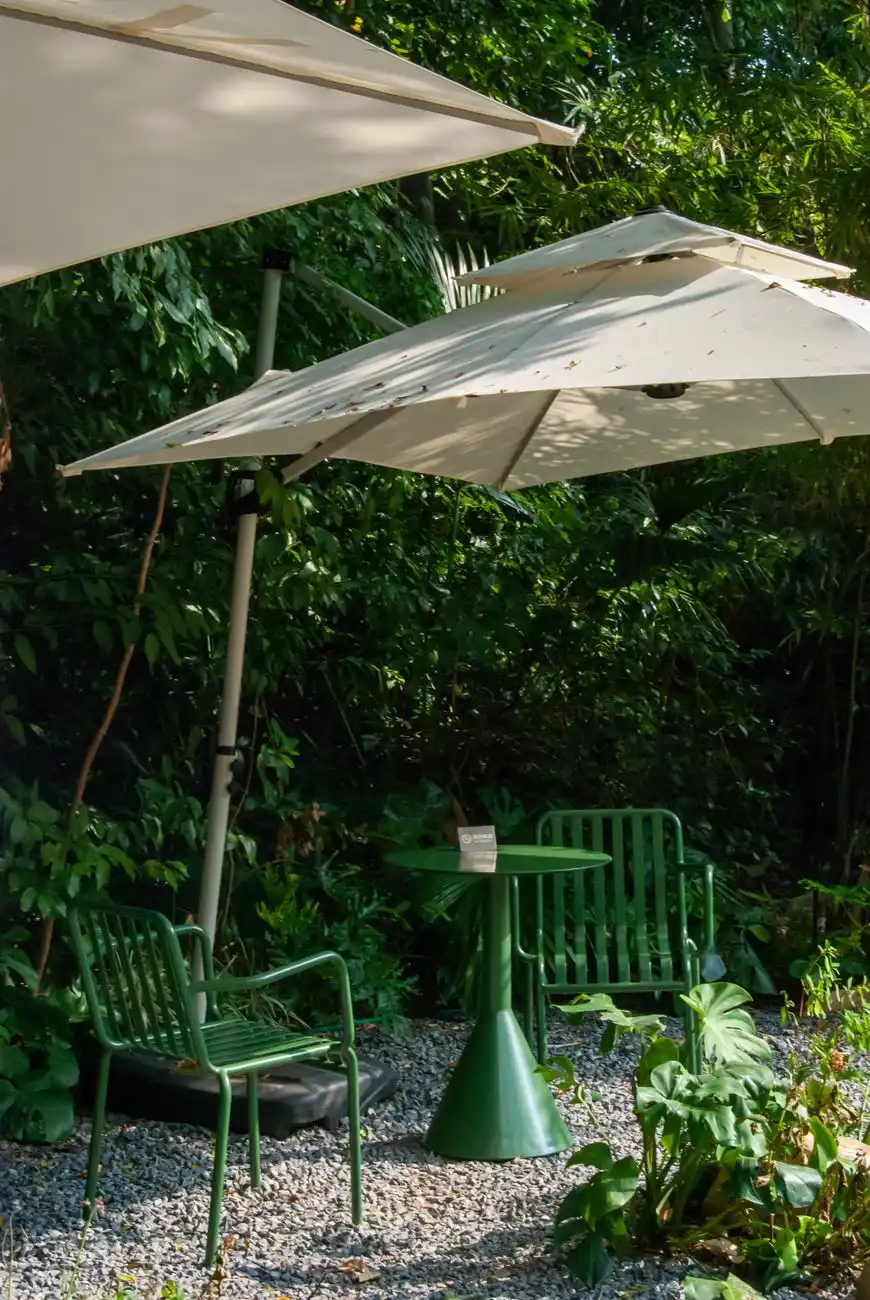
Furnish it right: flat pads under the legs, and a rug for the finished look
Standard furniture legs sink and wobble on loose gravel the same way stilettos do, and no amount of tightening the bolts fixes a problem that’s actually about surface, not hardware. Furniture leg pads — flat plastic or rubber discs, a few dollars each — spread the weight enough to stop sinking, or opt to set each leg on its own small paver instead.
An outdoor rug on top of gravel does more than soften the look: it gives bare feet a break from the stone and defines the actual seat zone the way a rug does on any other hard surface. Stick to polypropylene or another true outdoor fiber — a regular rug left on gravel through one rainy season molds from underneath before it ever looks dirty on top.
Here’s the honest math: what a gravel patio actually costs per square foot
Most gravel-patio guides quote the price of the gravel itself and stop there, which is exactly the kind of half-total we won’t do. Always show the total, not just the pieces — the gravel is often the cheapest single line item in the whole project, not the whole cost.
For a 100-square-foot patio (10×10), expect roughly $100–150 in bulk pea gravel, $60–100 in crushed stone for the base, $20–40 in landscape fabric, and $80–150 in edging material — a real total closer to $260–440 once you count everything that isn’t the pretty part. That’s still meaningfully less than the $400–900 a poured concrete slab of the same size runs, or the $1,000–1,800 a paver patio costs at $10–18 installed per square foot. Gravel wins on price specifically because it skips the labor-intensive parts, not because the material itself is dramatically cheaper than it looks on the shelf.
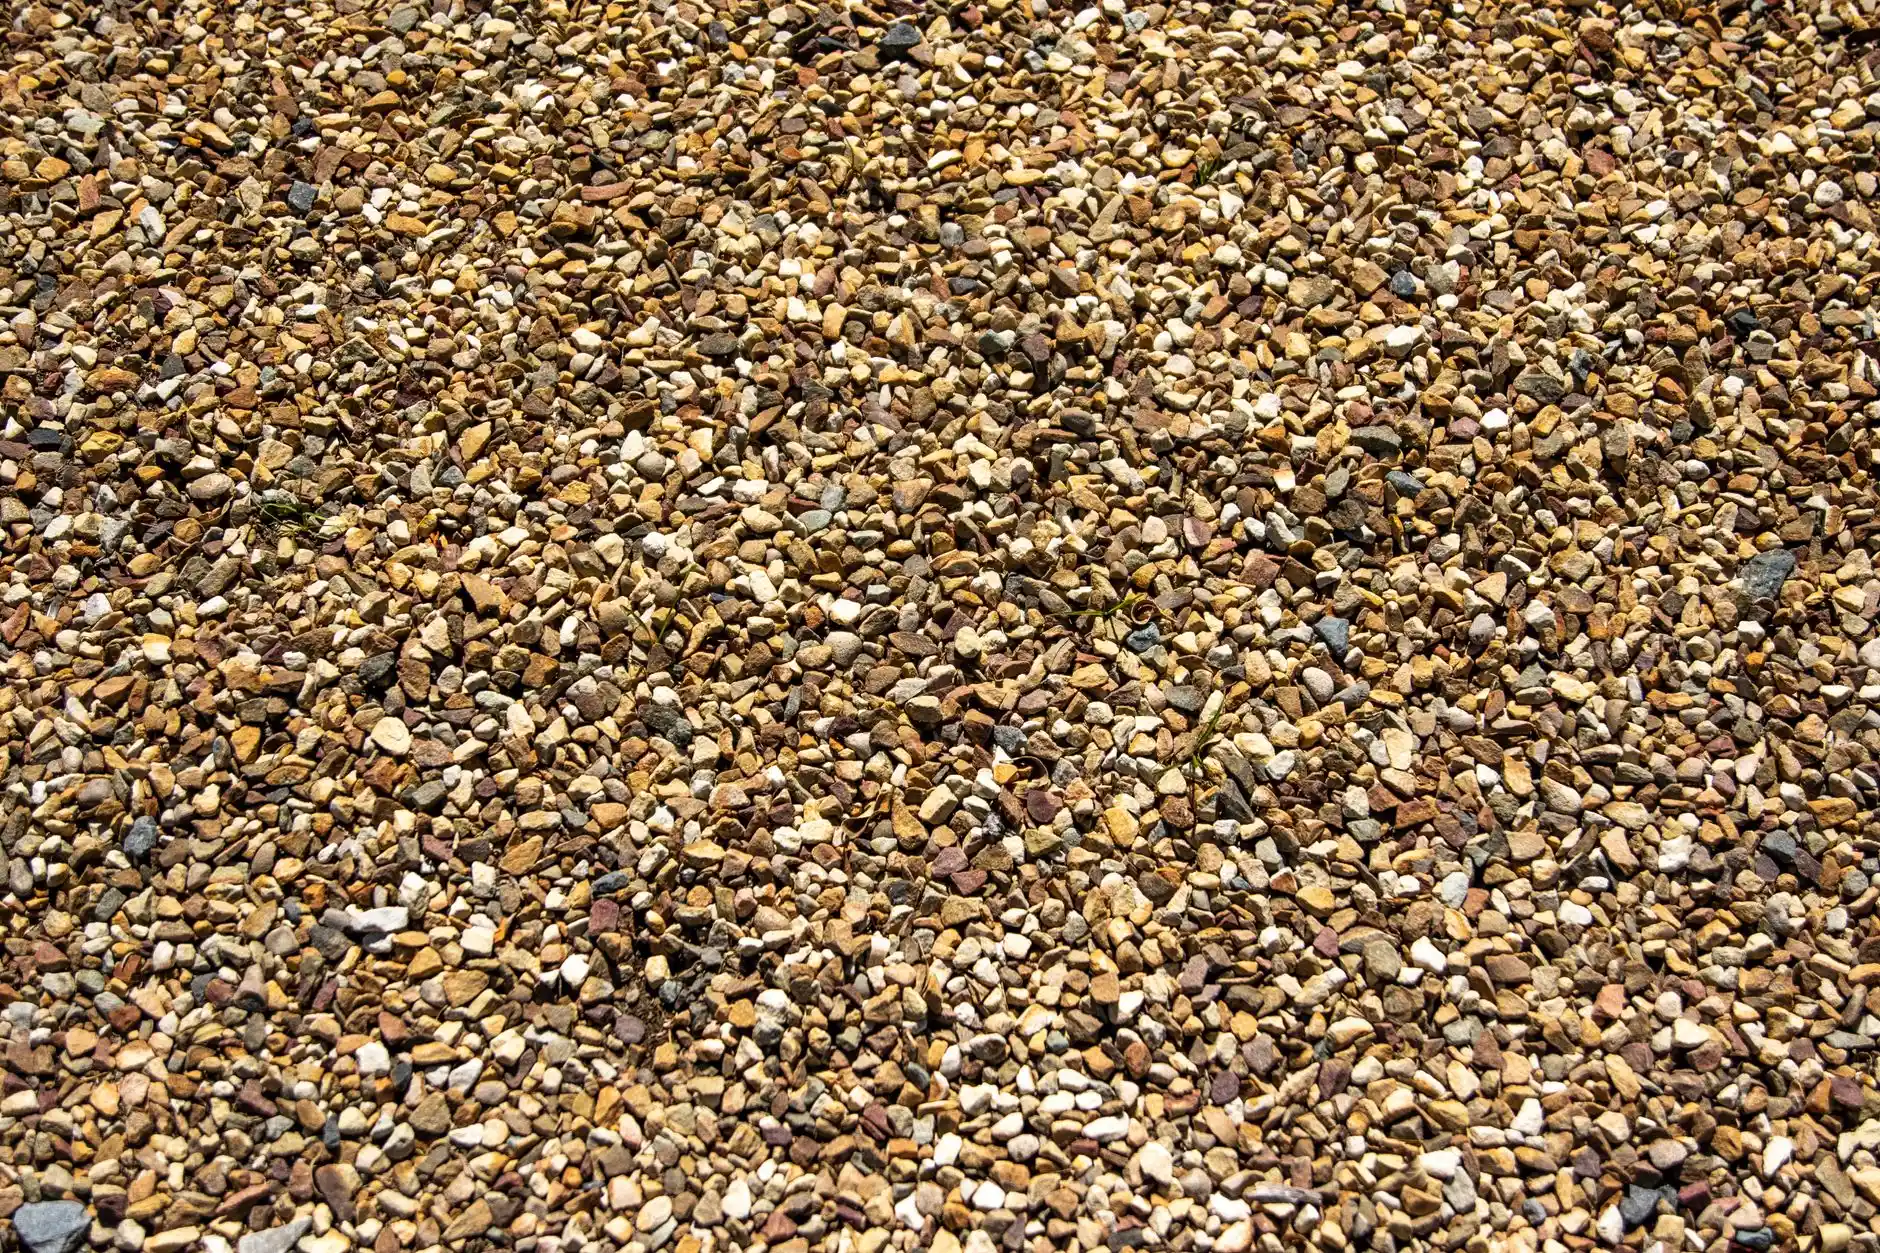
Photo by Magda Ehlers on Pexels
If the rest of the yard already leans toward exposed wood, black metal fixtures, and a working farmhouse feel, a gravel patio is one of the few hardscape choices that fits that look without a full modern farmhouse renovation — our shop-the-look pea gravel patio makeover pulls the exact edging, base material, and furniture pads used above into one shoppable list.
Start with the base and the border. Everything else on this list is just gravel sitting on top of a decision you already made correctly.
Frequently asked questions
What should you put under a pea gravel patio?
A compacted base of crushed stone (roughly 2–3 inches) topped with landscape fabric, then the pea gravel on top. The base stops the gravel from sinking into soft ground; the fabric slows weeds for a season or two, not permanently — treat it as a delay tactic, not a guarantee.
How deep should pea gravel be for a patio?
2–3 inches of pea gravel over the compacted base is the standard depth for a seating area — enough to stay stable underfoot without swallowing chair legs. Go past 3 inches and furniture starts to sink and shift; under 2 inches and the base or fabric shows through within a season.
What are the downsides of a pea gravel patio?
Loose stones migrate into the lawn and get walked into the house, furniture legs need flat pads or they sink and wobble, and weeds still find a way in eventually no matter how good the fabric is. It's also a genuinely bad surface for a wheelchair, walker, or a wobbly toddler learning to run.
How do you keep pea gravel from spreading into the grass?
A physical edging border — steel, aluminum, pressure-treated wood, or even staked rope — set at the true property line between gravel and lawn. Without one, gravel migrates within a season and ends up scattered through the grass, in flower beds, and eventually in a lawn mower blade.